Session 2: computer-aided design
How does a laser cutter work?
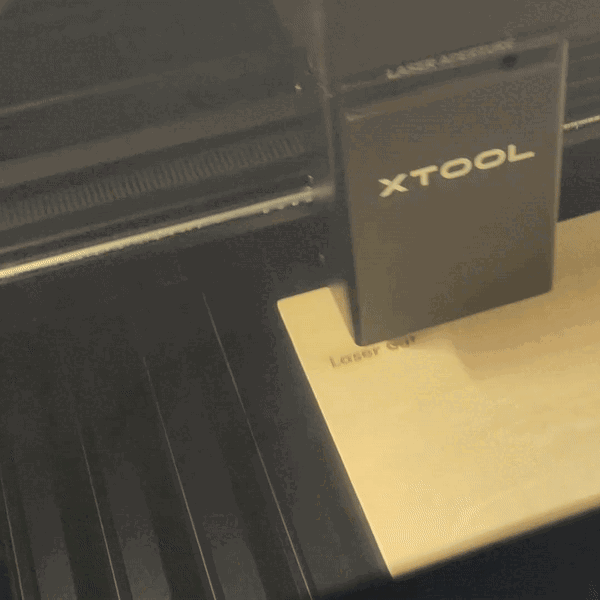
A laser cutter starts with a flat piece of material, such as wood or cardboard, and 'draws' on it with a laser. The laser burns when it draws, and we can control the power levels to let it burn all the way through, or mark on the surface.
For your air quality monitors casing, you will create a design using TinkerCAD, and we will cut it on the laser cutter in a material of your choice:
- Wood
- Pro - easy to modify with hand tools
- Pro - can be decorated with paints
- Pro - biodegradable at the end of its life
- Con - not waterproof or easy to clean
- Acrylic (plastic)
- Pro - waterproof and easy to clean
- Pro - available in lots of colours, and can be decorated with marker pens
- Con - brittle, and hard to modify without breaking
- Con - not biodegradable at the end of its life
Tinkercad
For this workshop, we will use the online software Tinkercad.
To access the practice files, you will be given a Classroom link and a nickname.
If you already have a Tinkercad account and would like to use it, join the Classroom with your log-in instead of with the nickname.
It is important that you use the Classroom, so that we can find your designs to print and cut after the workshop.
Practice design
During the workshop, we will show you how to use Tinkercad to create a small shape suitable for laser cutting.
Click on the links below if you need a recap of any sections - each one is a different tutorial:
- How to... add a shape
- How to... resize a shape
- How to... change the view
- How to... move a shape
- How to... rotate a shape
- How to... align two shapes
- How to... add a hole
- How to... group your shapes and holes
For this practice, you must work on the example keyring base, so that everyone's design is the same size and can be cut quickly.
Add shapes and text onto it as holes, to create a design of your choice - keep it small and quick!
Add a note to your design to let us know which parts of your design should be cut, scored, engraved.
We will laser cut your creation in wood. You can collect it next session and decorate it if you wish.
Design your air quality monitor
In the Tinkercad Classroom, we have given you some different templates to start with - these have the holes cut out for the screen, LED, button and screws, but have a basic outline for you to edit.
Decide where you want the screen - on the top or the bottom - and how close together you want the visible parts.
Do not rotate the parts once they are in your design, as this can cause the LCD screen to attach upside down!
Design rules
Your casing must:
- Fit onto an A4 sheet
- Be larger than the template, so that all the parts fit in it
- Be recognisably yours (e.g. add a name or initials)
