Codeblocks Set Up
If you are in our workshop at the Science Oxford Centre, this section has been done for you.
If you are in our workshop at the Science Oxford Centre, this section has been done for you.
Log into Tinkercad using your own account, or the classroom code and nickname we provided during the workshop.
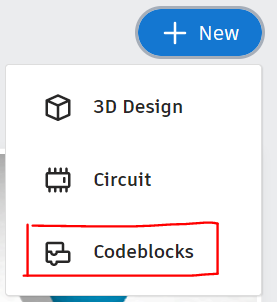
Once logged in, click New, and Codeblocks, to start a new project.
Click 'New Design' from the pop-up.

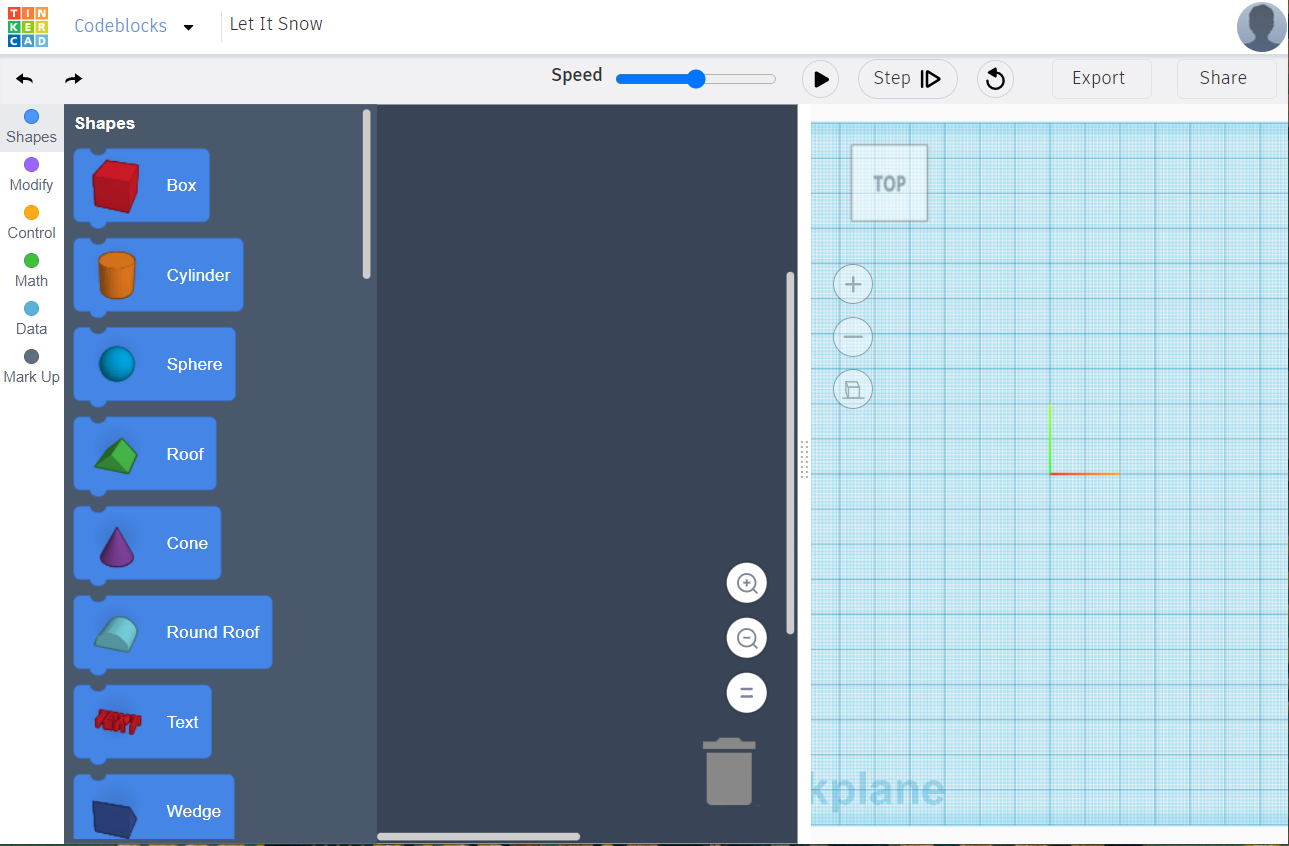
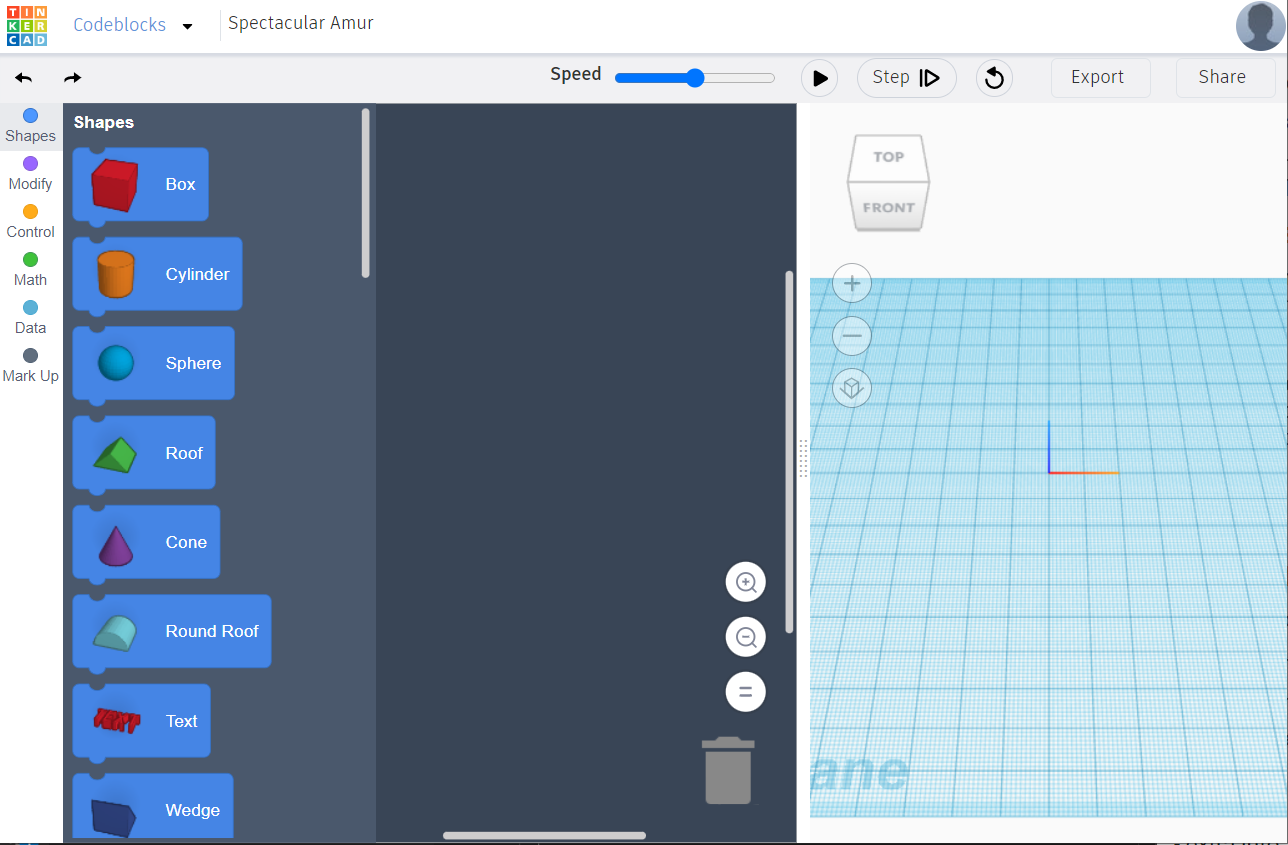
You should now see an editor like the picture below. If it looks very different, click the Tinkercad logo on the top right to get back to your Dashboard, and carefully follow the previous instructions again.
The Cricut can only cut flat objects. It is like a very precise pair of scissors! Your design may look 3D, but the machine will only cut the outline, so think carefully about what shapes you choose to use.
For a more detailed explaination, take a look at our Instructable (up to Step 6).
To help you to see the final design, change the view options so it will look flat.
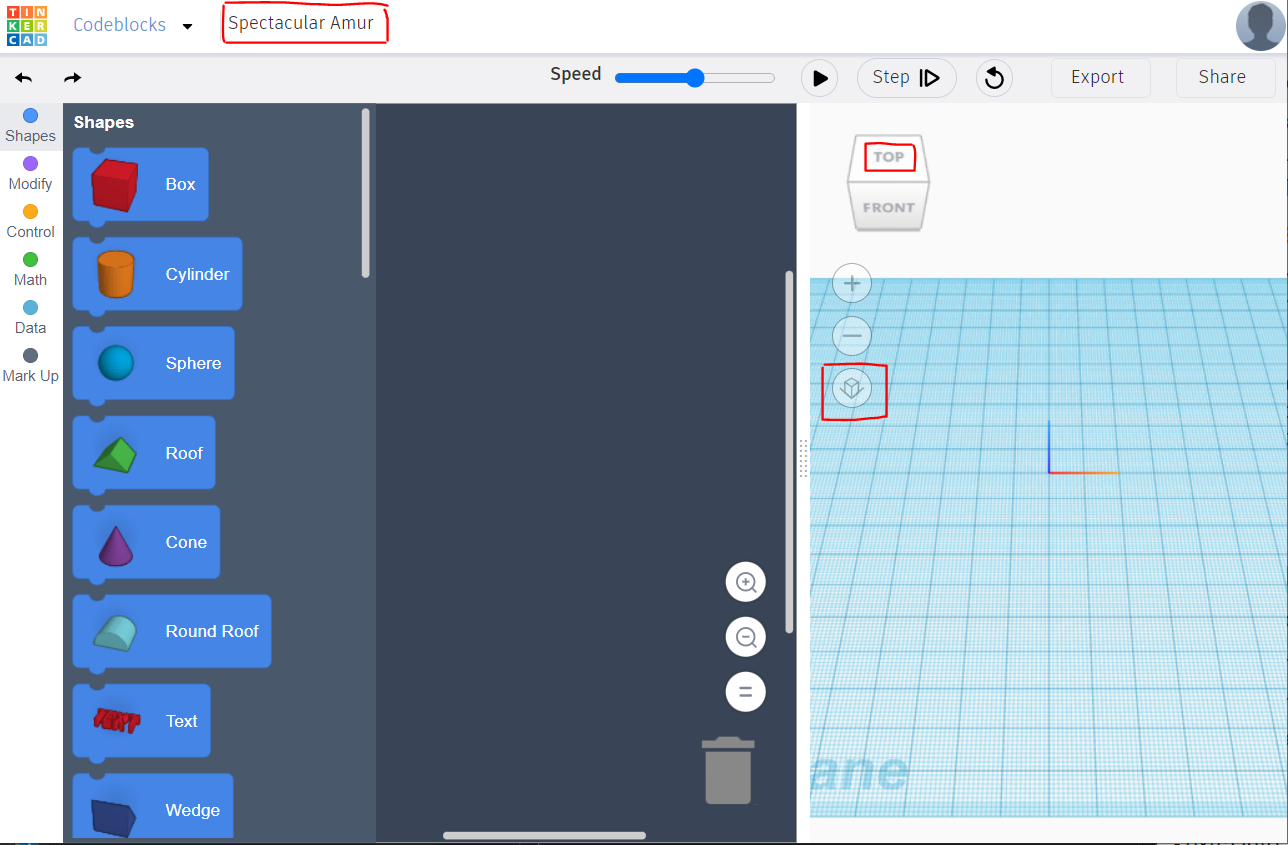
Your final workspace, all set up, should look like this: