Science Oxford Logo

Step-by-Step - creating the snowman's body


Create New Object

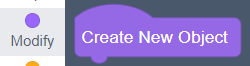
In the Modify menu, choose Create New Object.

Drag-and-drop it into the code space.

On the left is the Modify menu option, which has a purple dot. On the right is the Create New Object block, which is purple, has a curved top with no connector, and a connector on the bottom.

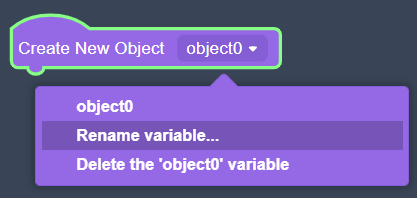
Click on the ⛛ arrow next to object0 to open its menu.

Click Rename variable....

The Create New Object block is highlighted in green, and a menu is showing underneath it. The menu is purple and shows three things: objectO; Rename variable; Delete the 'object0' variable. Rename variable is highlighted in a darker purple.

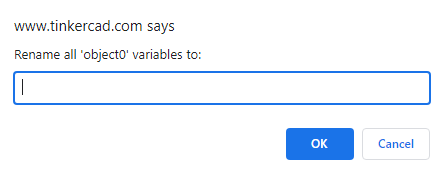
A popup will appear. Type your new variable name (we chose body) into the box then click OK.

A white popup box with the title 'www.tinkercad.com says' and the message 'Rename all 'object0' variables to:'. There is a blank box to type into, and two buttons underneath: OK and Cancel.

Adding a Shape

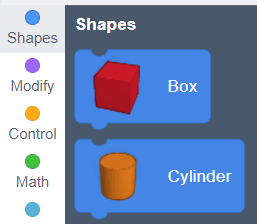
In the Shapes menu, choose Cylinder.

Drag-and-drop it into the code space, and connect it underneath your Create New Object block.

On the left is the menu option, Shapes has a blue dot. On the right are two blocks, which have connectors on the top and bottom: Box shows a red cube, Cylinder shows an orange cylinder.

On the top right of your screen, there is a set of options to run your code.

Speed has a slider, to change how quickly it runs.

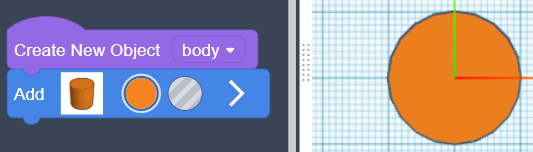
Next to the slider is a ▶ Play button. Click this to run your code.

Close-up of the menu, showing Speed with a sider. The slider is blue, and set to halfway. Next to this is a Play button, a Step button and an Undo button.

If your code runs successfully, you will see an orange cylinder on the workspace on the right.

On the left is the code: Create New Object body; Add Cylinder. On the right is the output,

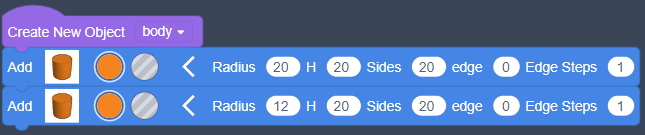
Click the 〉 arrow at the end of the Add cylinder block, to see more options.

Edit the first number, labelled Radius, to make the cylinder smaller or wider.

cylinder options expanded, showing: Radius(10), H(20), Sides(20), edge(0), Edge Steps(1)

Moving Shapes

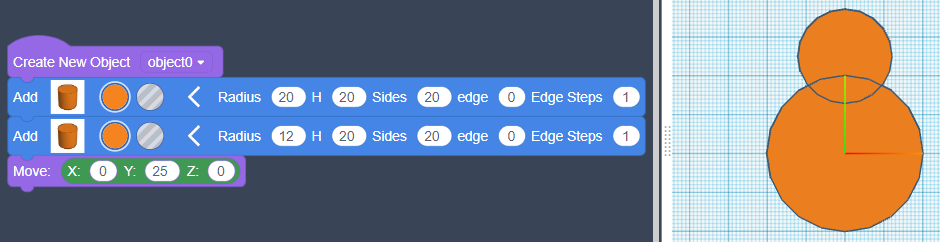
Add a second Cylinder underneath the first one, and adjust the radius if you want.

the same code as earlier, but with a second cylinder. The first cylinder has radius(20), the second cyclinder has radius(12)

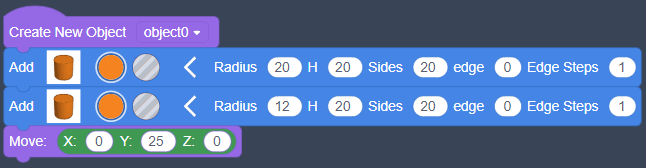
From the Modify menu, find the Move block. Add it underneath your new shape.

Changing X will move it left and right. Z will move it above the other shapes, to make it 3D.

The number you should change is Y, to move it to the top of the first shape.

the same code as earlier, with a Move block underneath, the options are X(0), Y(25), Z(0)

Run your code to check it.

On the left: the same code as earlier. On the right, a large orange circle with a smaller orange circle on top, slightly overlapping.

Finishing the Object

From the Modify menu, find Create Group. Add it to the bottom of your code.

same as earlier, with a purple Create Group block at the end. It has two circles next to it, one multicoloured and one see-through

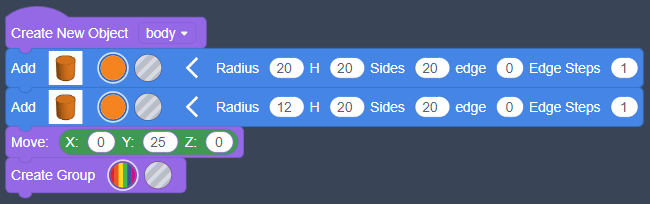
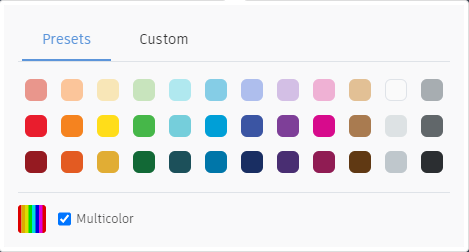
Click the multicoloured block, and choose a colour for your finished object.

This helps you to see easily which parts of the design you have finished.

pop-up of colour options. On the top the labels Presets and Custom. In the middle are many different coloured squares. On the bottom is a multicoloured square with a tick box next to it.