Science Oxford Logo

Step-by-Step - creating the snowman's hat


Create New Object

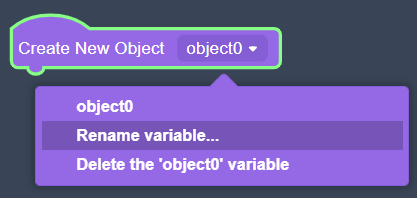
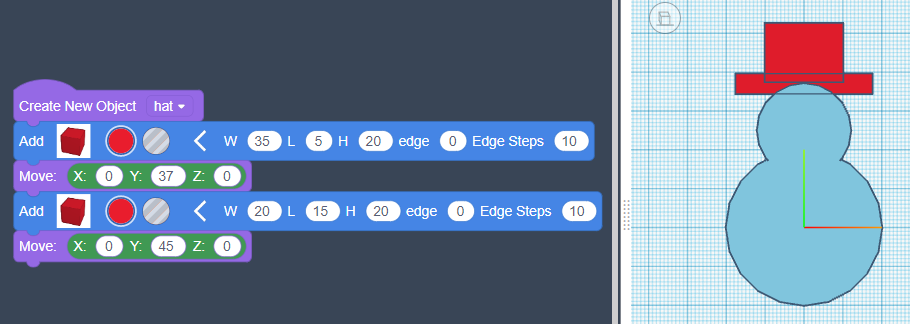
In the Modify menu, choose Create New Object.

Drag-and-drop it into the code space, then rename it Hat

The Create New Object block is highlighted in green, and a menu is showing underneath it. The menu is purple and shows three things: objectO; Rename variable; Delete the 'object0' variable. Rename variable is highlighted in a darker purple.

Adding a Shape

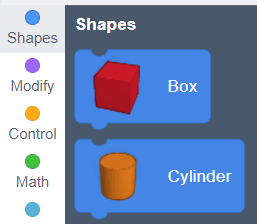
In the Shapes menu, choose Box.

Drag-and-drop it into the code space, and connect it underneath your Create New Object block.

On the left is the menu option, Shapes has a blue dot. On the right are two blocks, which have connectors on the top and bottom: Box shows a red cube, Cylinder shows an orange cylinder.

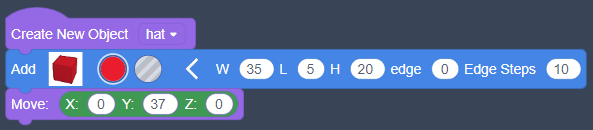
Click the 〉 arrow at the end of the Add box block, to see more options.

Edit the first two numbers, labelled W and L, to change the width and length of the box.

box options expanded, showing: W(35), L(5), H(20), edge(0), Edge Steps(10)

Moving Shapes

From the Modify menu, find the Move block. Add it underneath your shape.

Changing X will move it left and right. Z will move it above the other shapes, to make it 3D.

The number you should change is Y, to move it to the top of the body.

the same code as earlier, with the box options W(35) and L(5), with a Move block underneath, the options are X(0), Y(37), Z(0)

Run your code to check it.

On the left: the same code as earlier. On the right, a pale blue snowman shape, with a red rectangle on top.

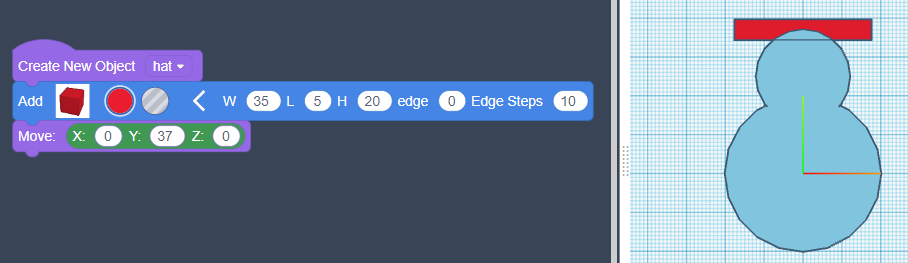
Repeat these steps with a second box, to make a hat shape.

On the left: the same code as earlier, with another box and move block underneath. The box options are W(20) and L(15). The move options are Y(45). On the right, a pale blue snowman shape, with a red rectangle on top.

Finishing the Object

From the Modify menu, find Create Group. Add it to the bottom of your code.

Change the colour to match the body, so you know this object is also finished.