Science Oxford Logo

Soldering Pin Connectors to your Robot

Follow these instructions to add connectors to your robot, which you can then use to attach extra components.

Step 1 - collect your components and tools

  1. Your robot
  2. Pin connectors
  3. Protective mat
  4. Soldering iron (plus stand and sponge)
  5. Solder
  6. Mini breadboard
  7. Wire cutters
Components

Step 2 - prepare your robot

  1. Remove your robot's body, so that you can access the yellow circuit board.
  2. Unplug your robot's battery - this will project you, the battery and the micro:bit if anything gets connected incorrectly at any point.
  3. Find the pin connector section - underneath the edge connector.
  4. Close-up of pin connector area of circuit board
  5. Remove anything glued onto this section, for example your motor case.
  6. Check that nothing else is in your way, and you can access the holes on the circuit board.

Step 3 - prepare your pin connectors

  1. Look at your circuit board. This section is broken up into four sections:
  2. Close-up of circuit board with labels highlighted
  3. Seperate sections of pins from the rows of pin connectors, using a twisting motion, or your wire cutters:
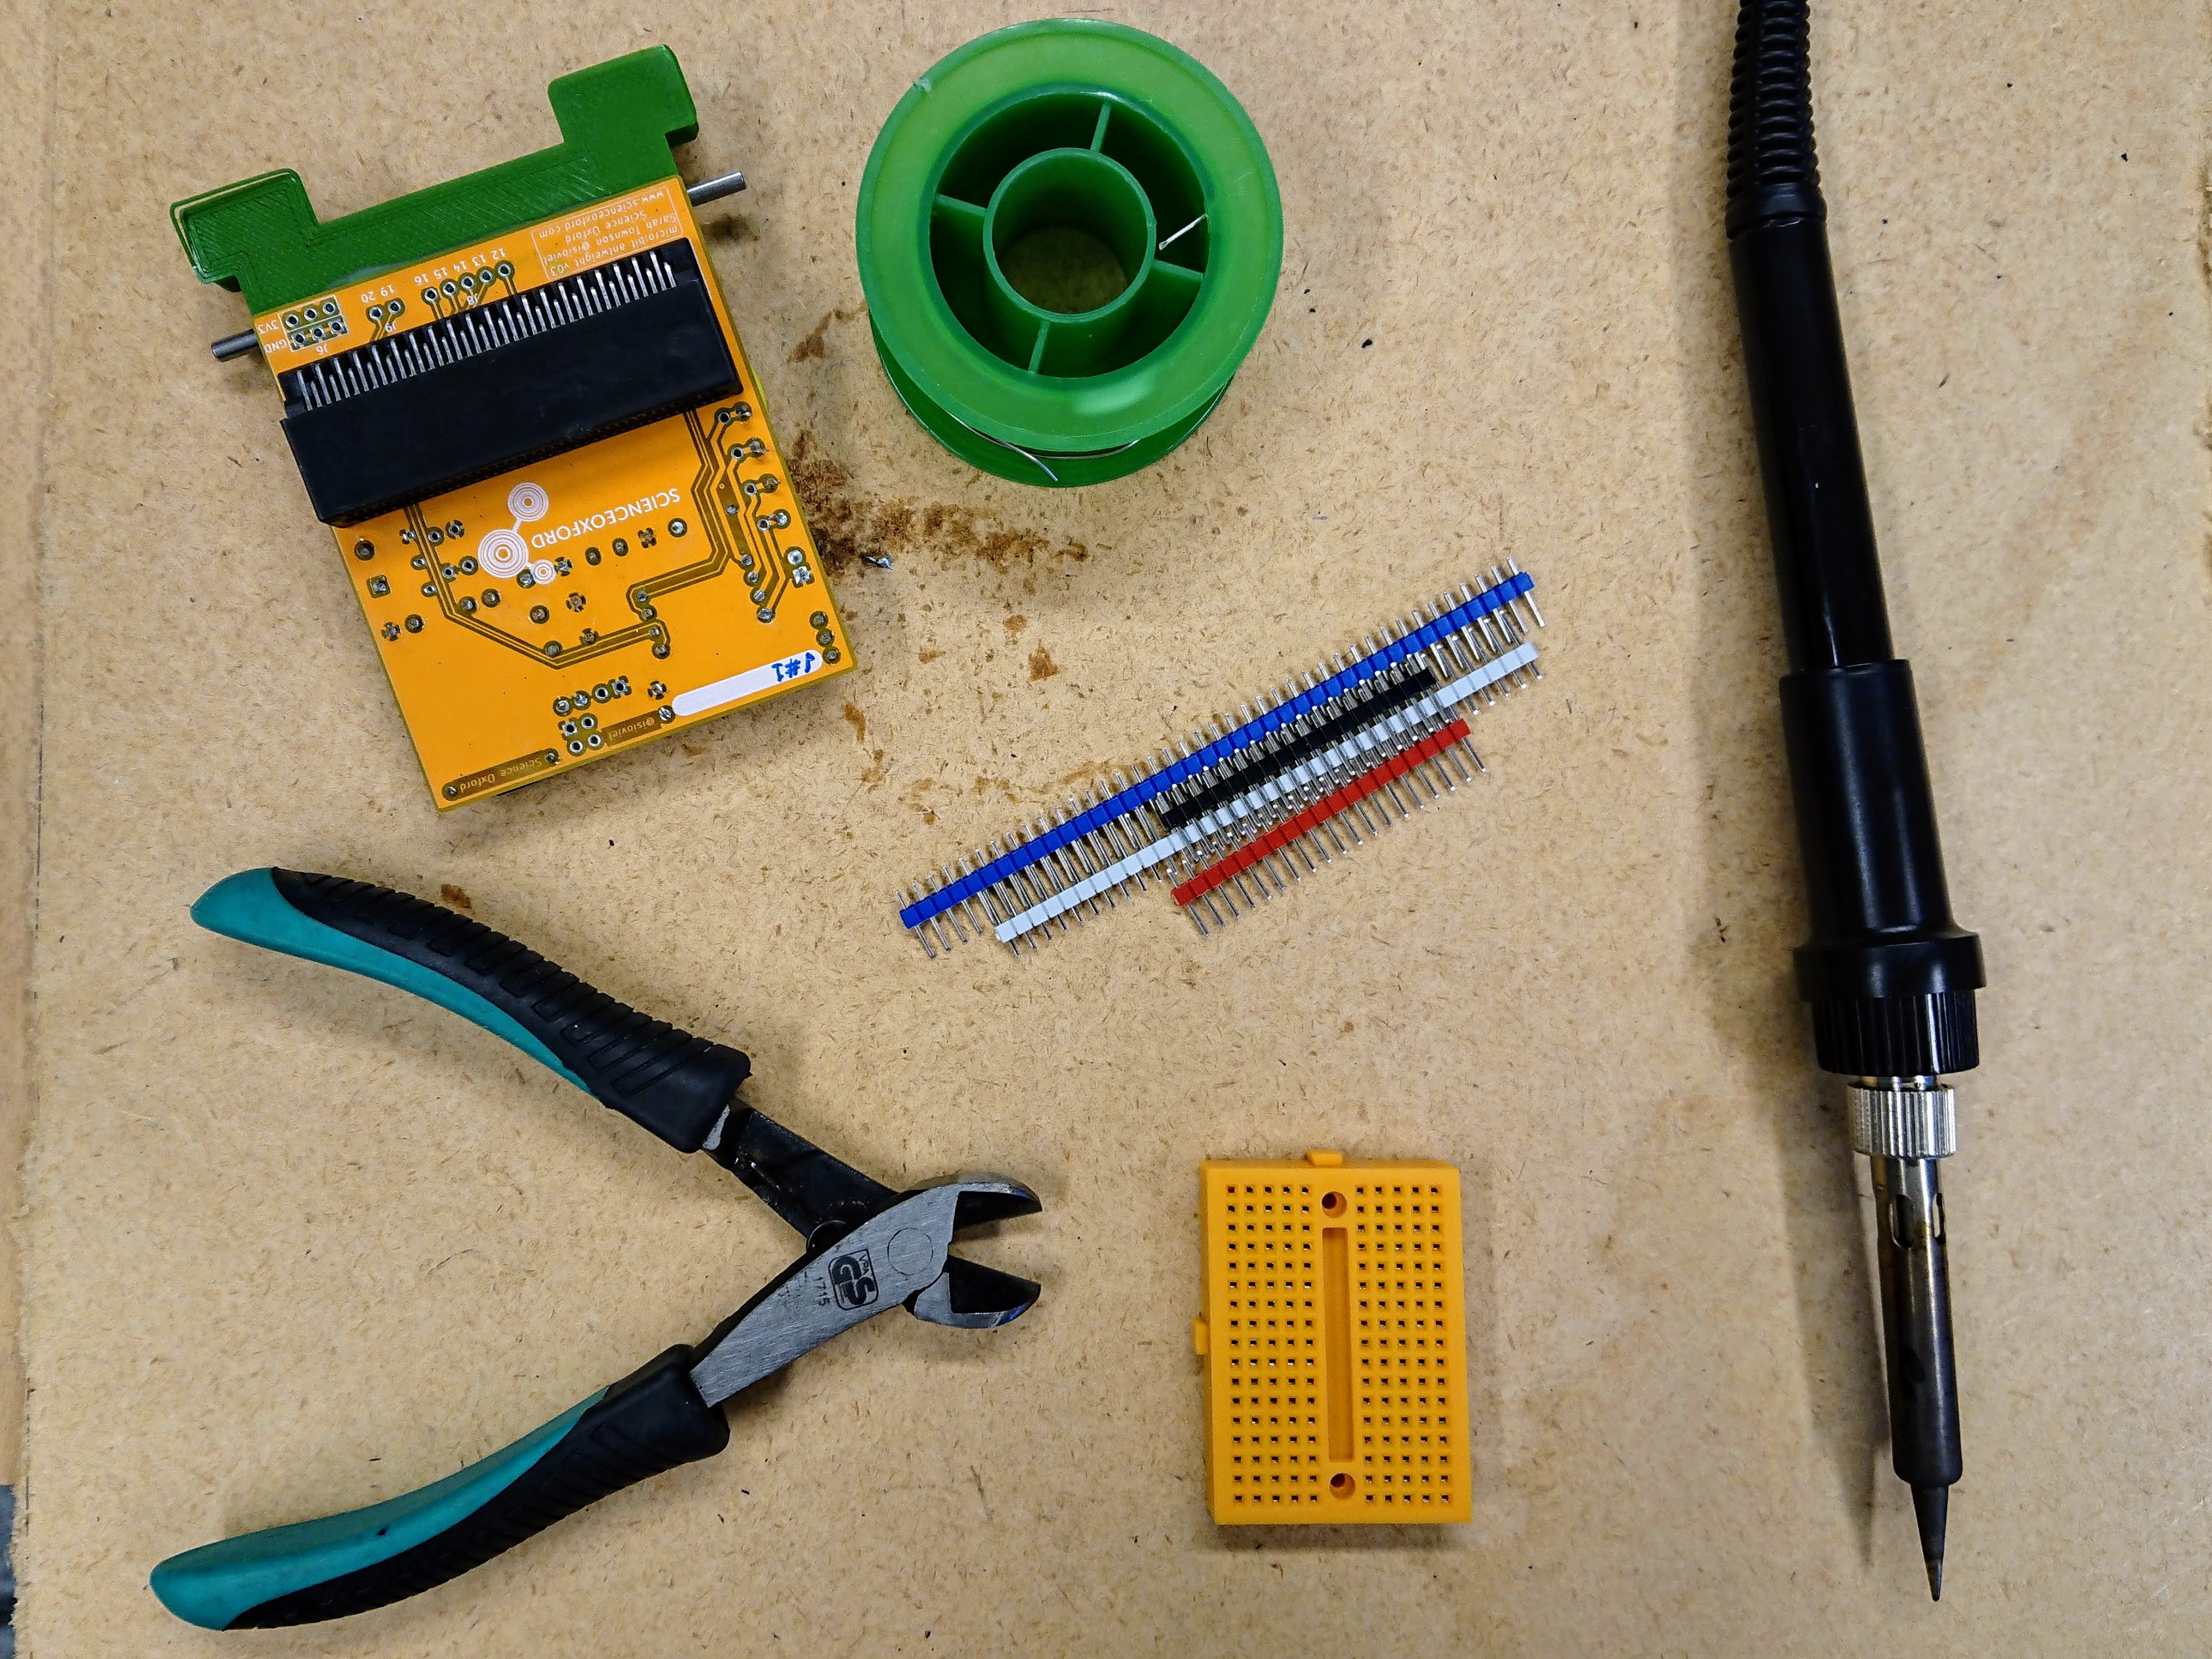
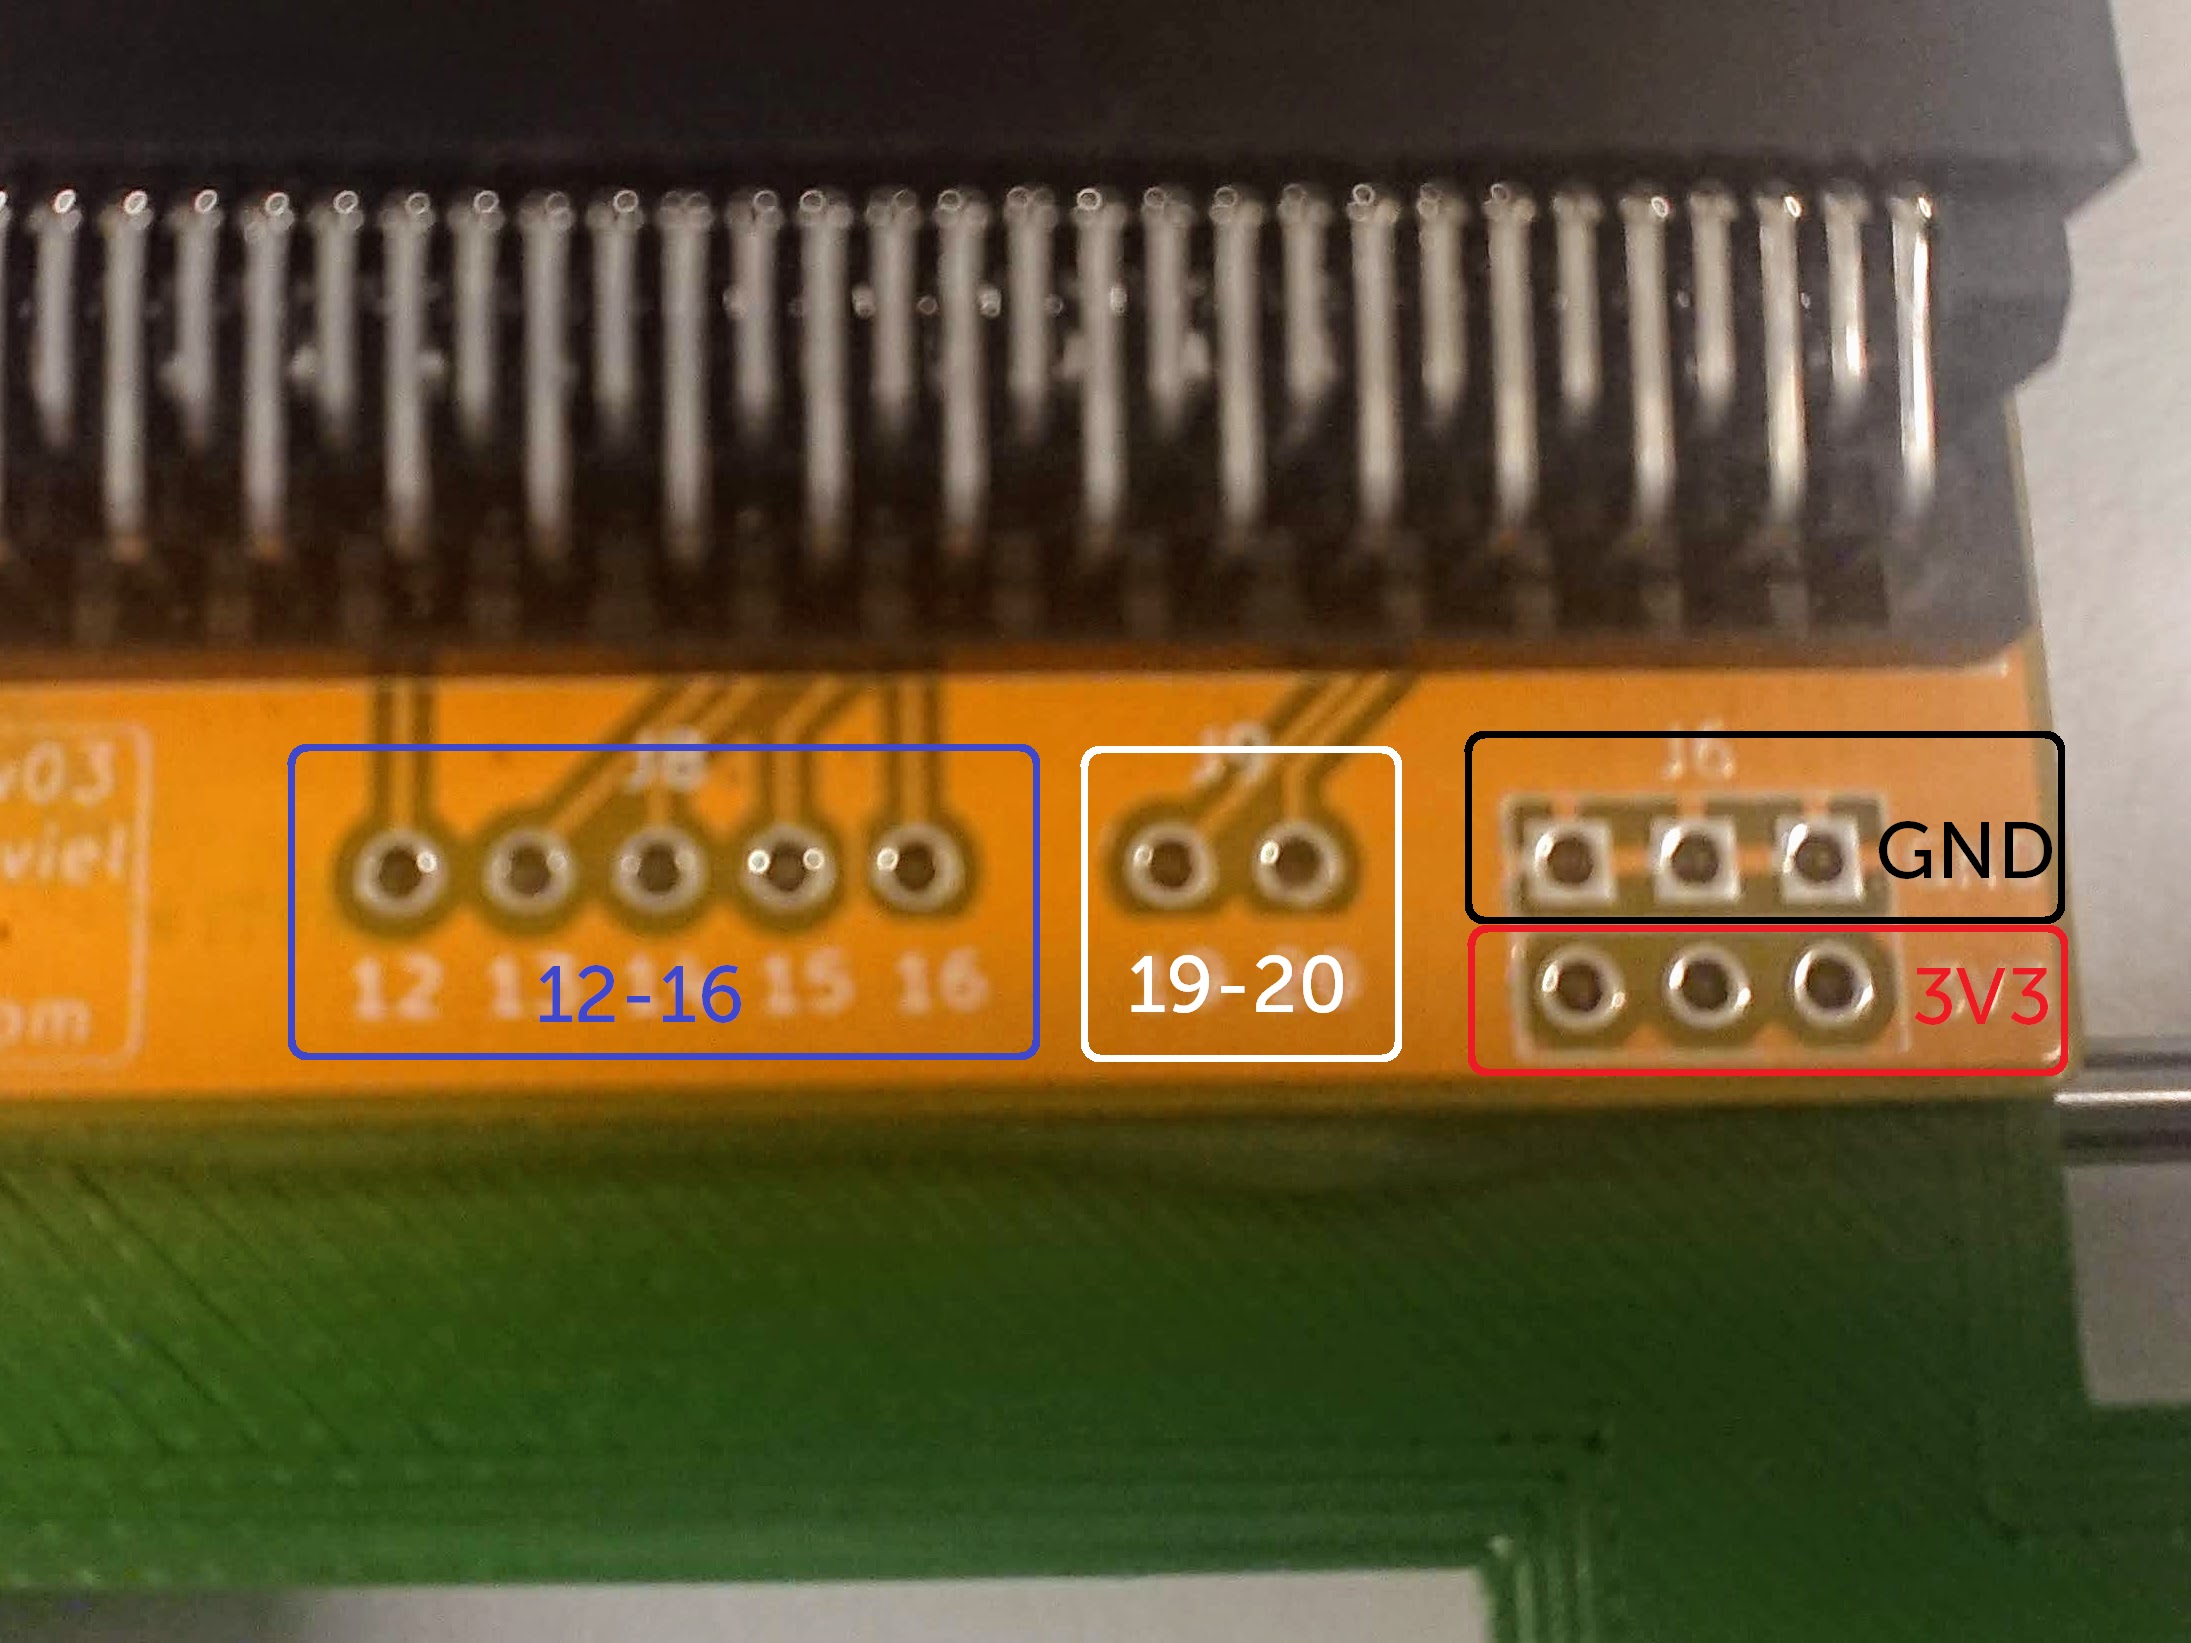
  4. The pins are all the same, but using different colours will make it easier for you to see what you are connecting later!

    Sections of pins
  5. Put your pins into the robot so that the long ends are on the side of the board with the pin labels.
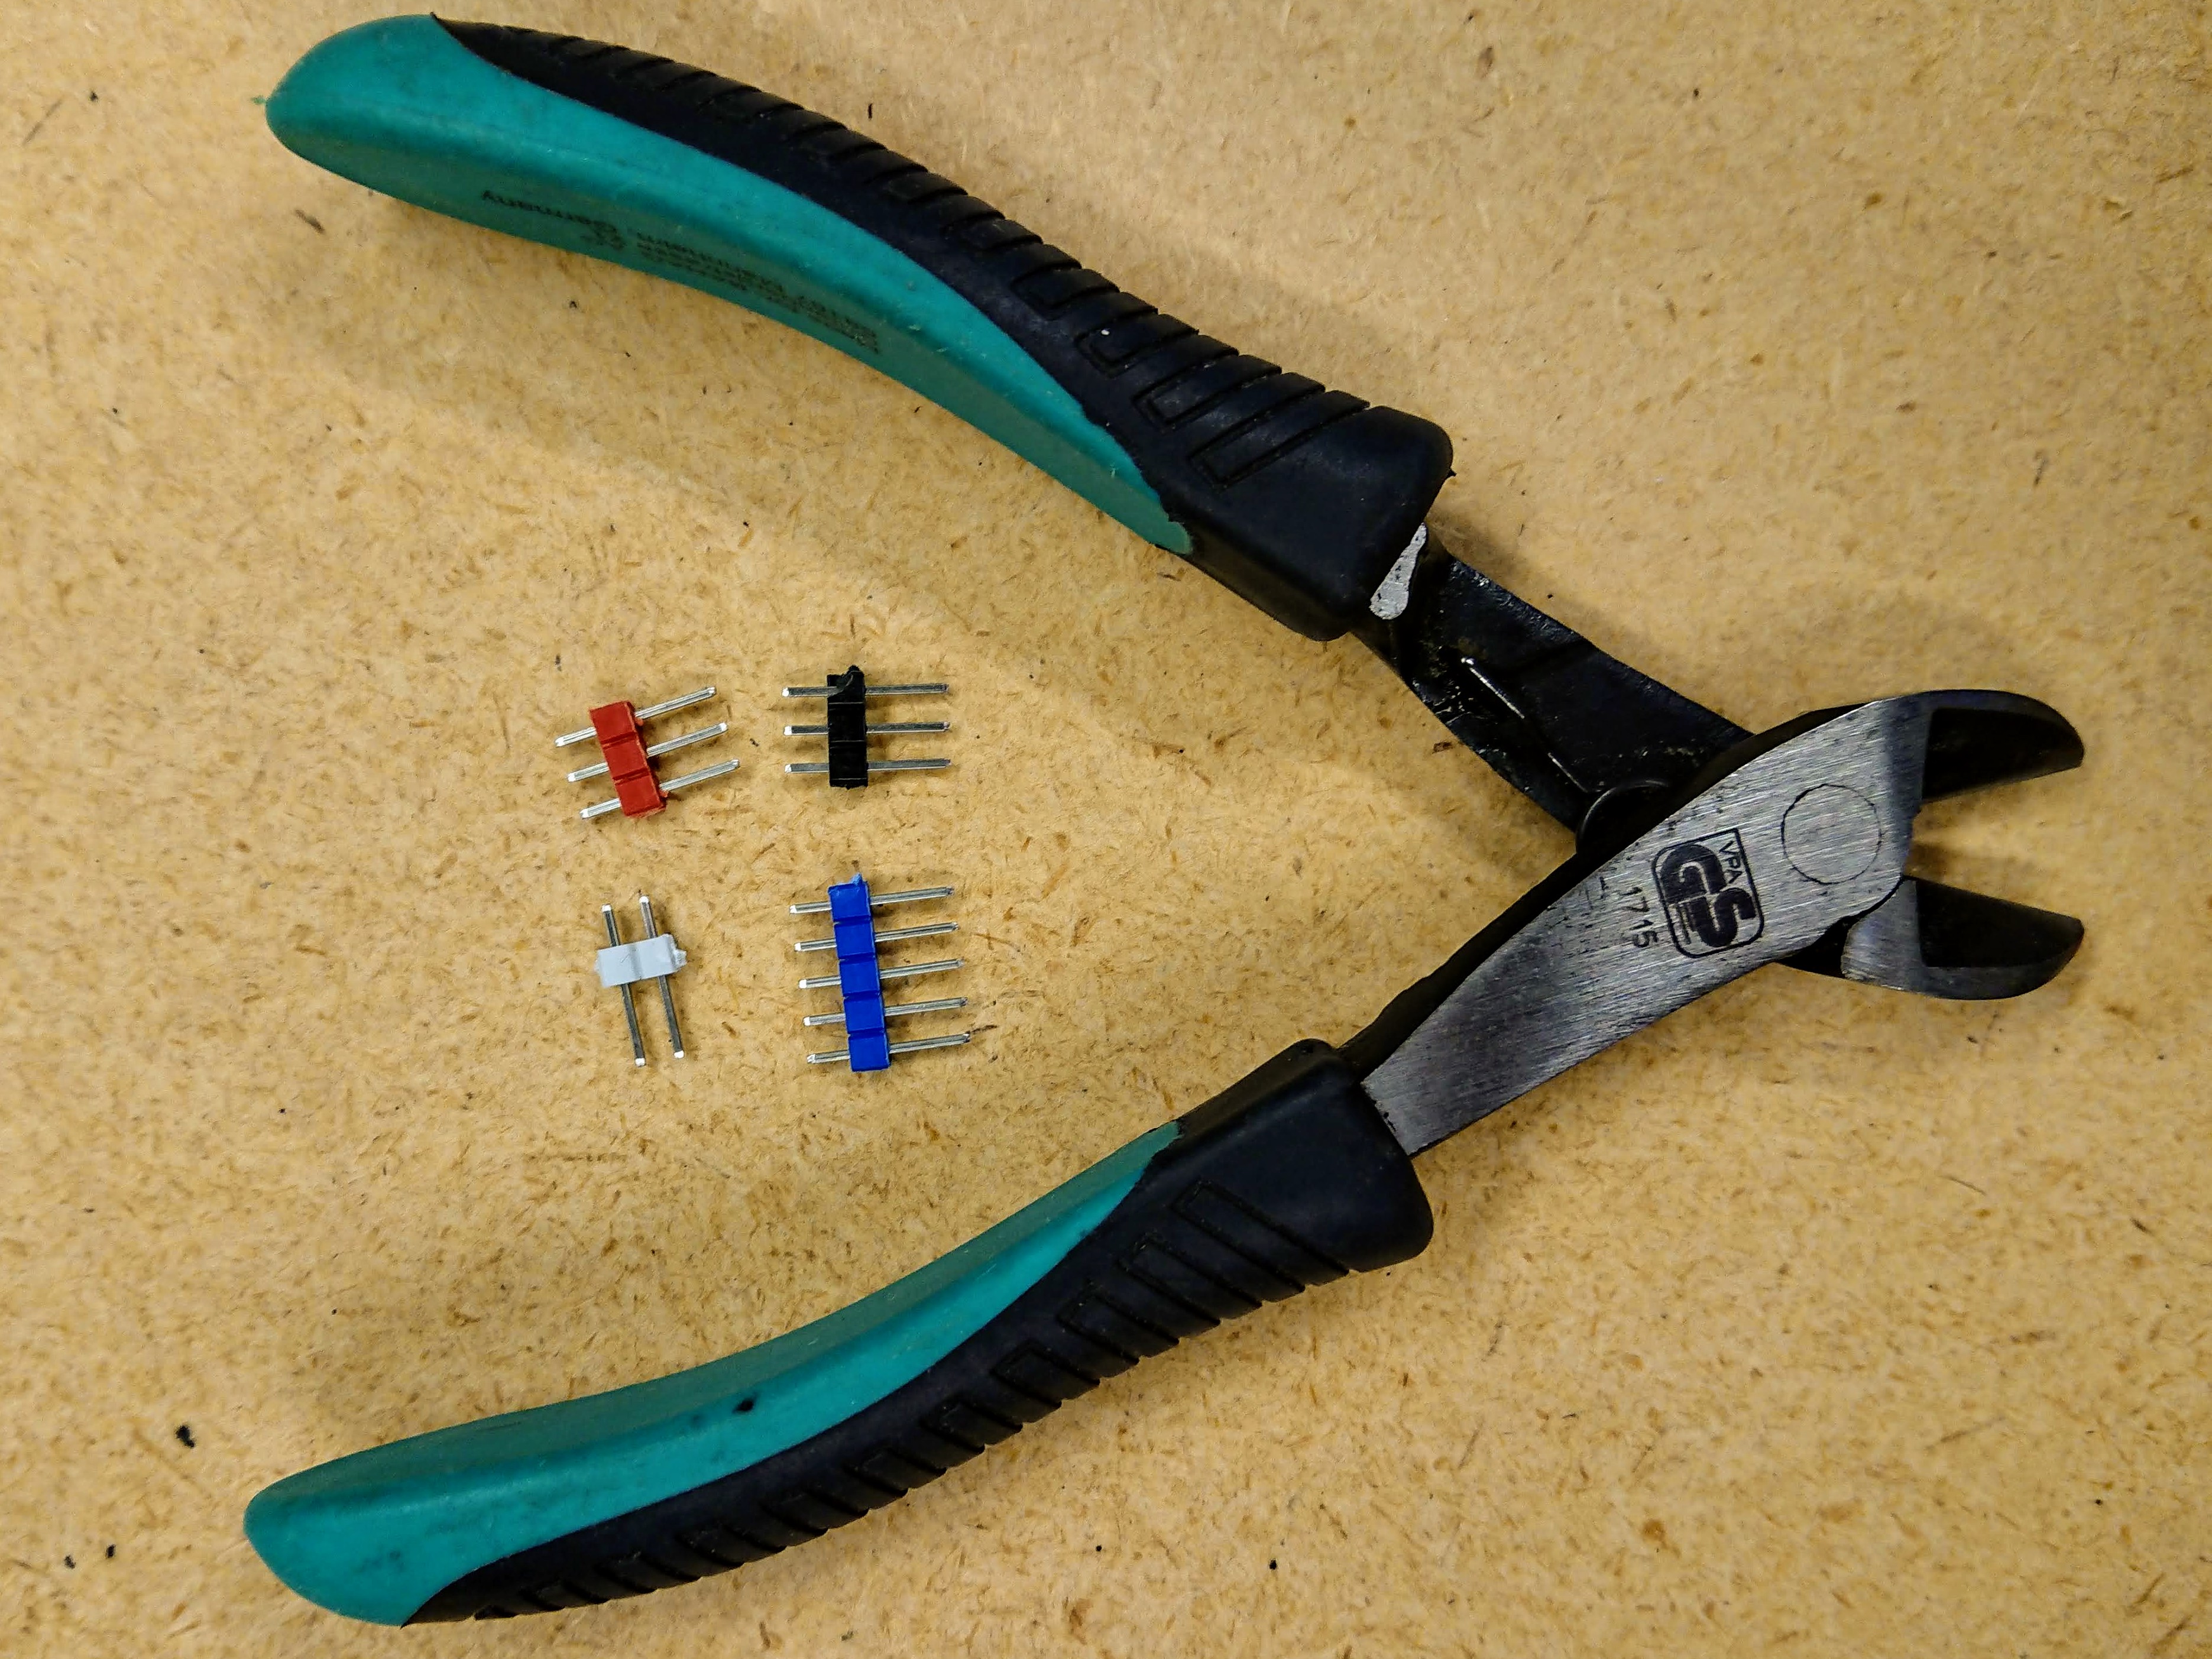
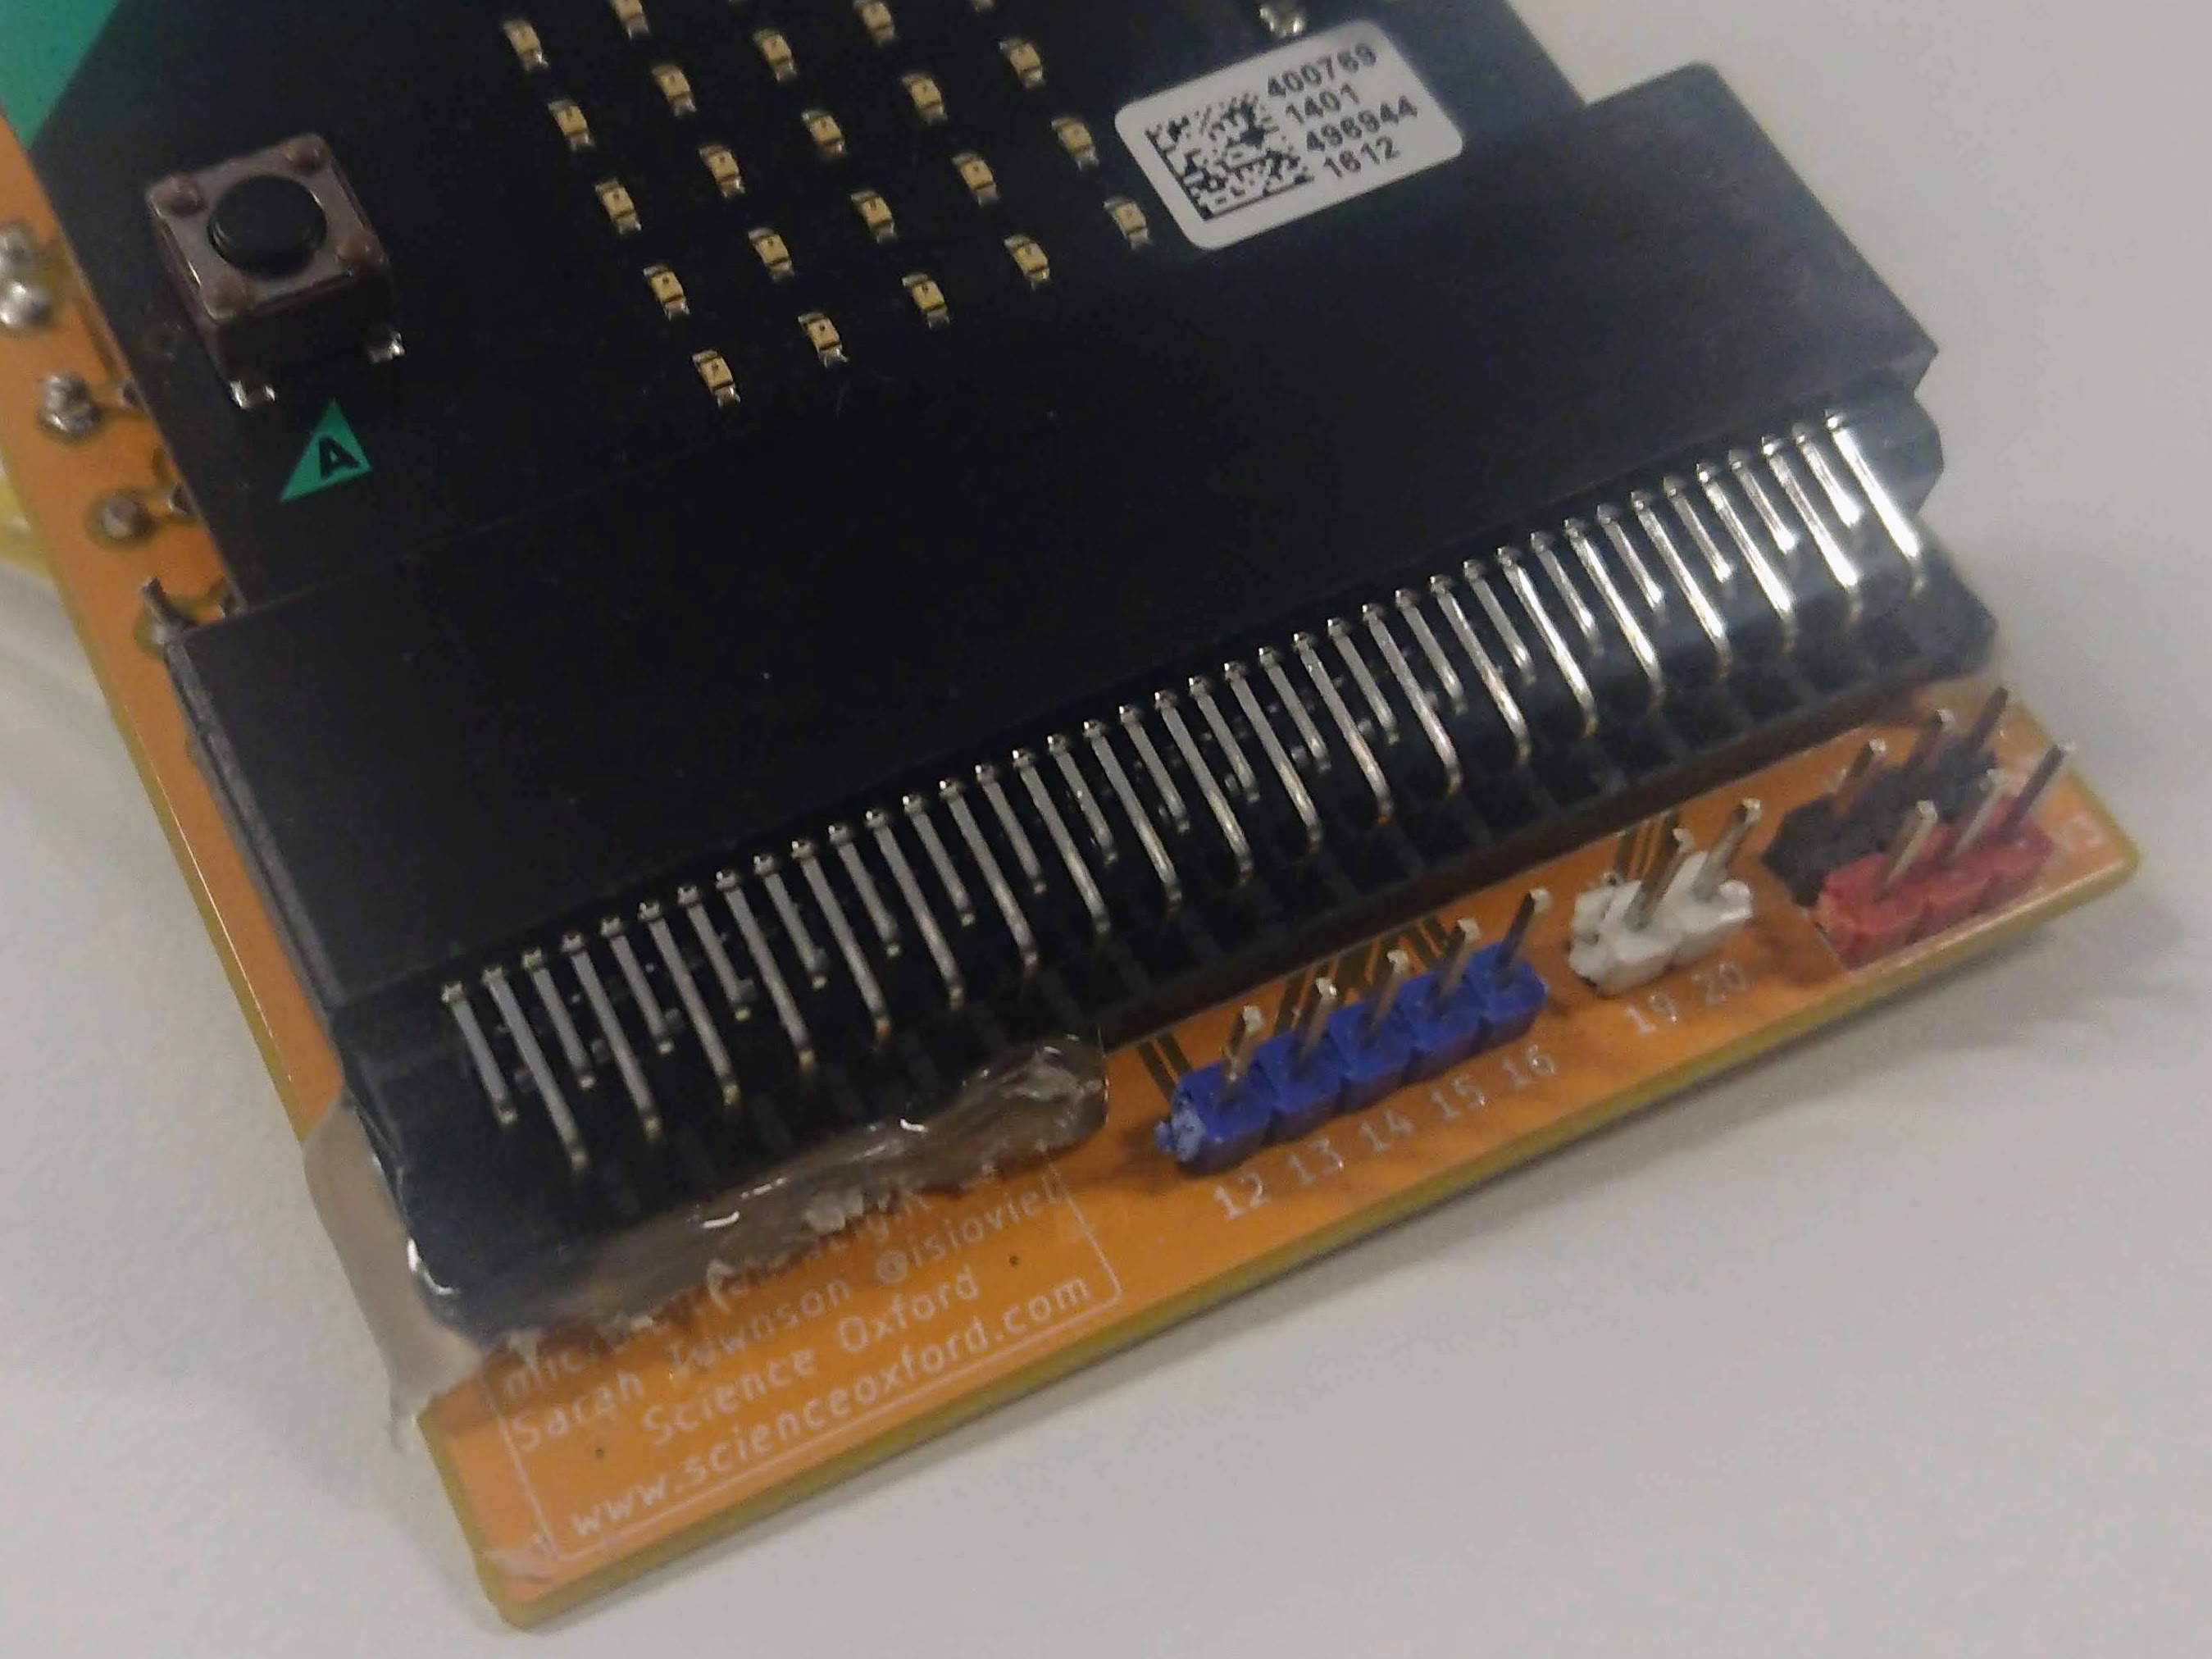
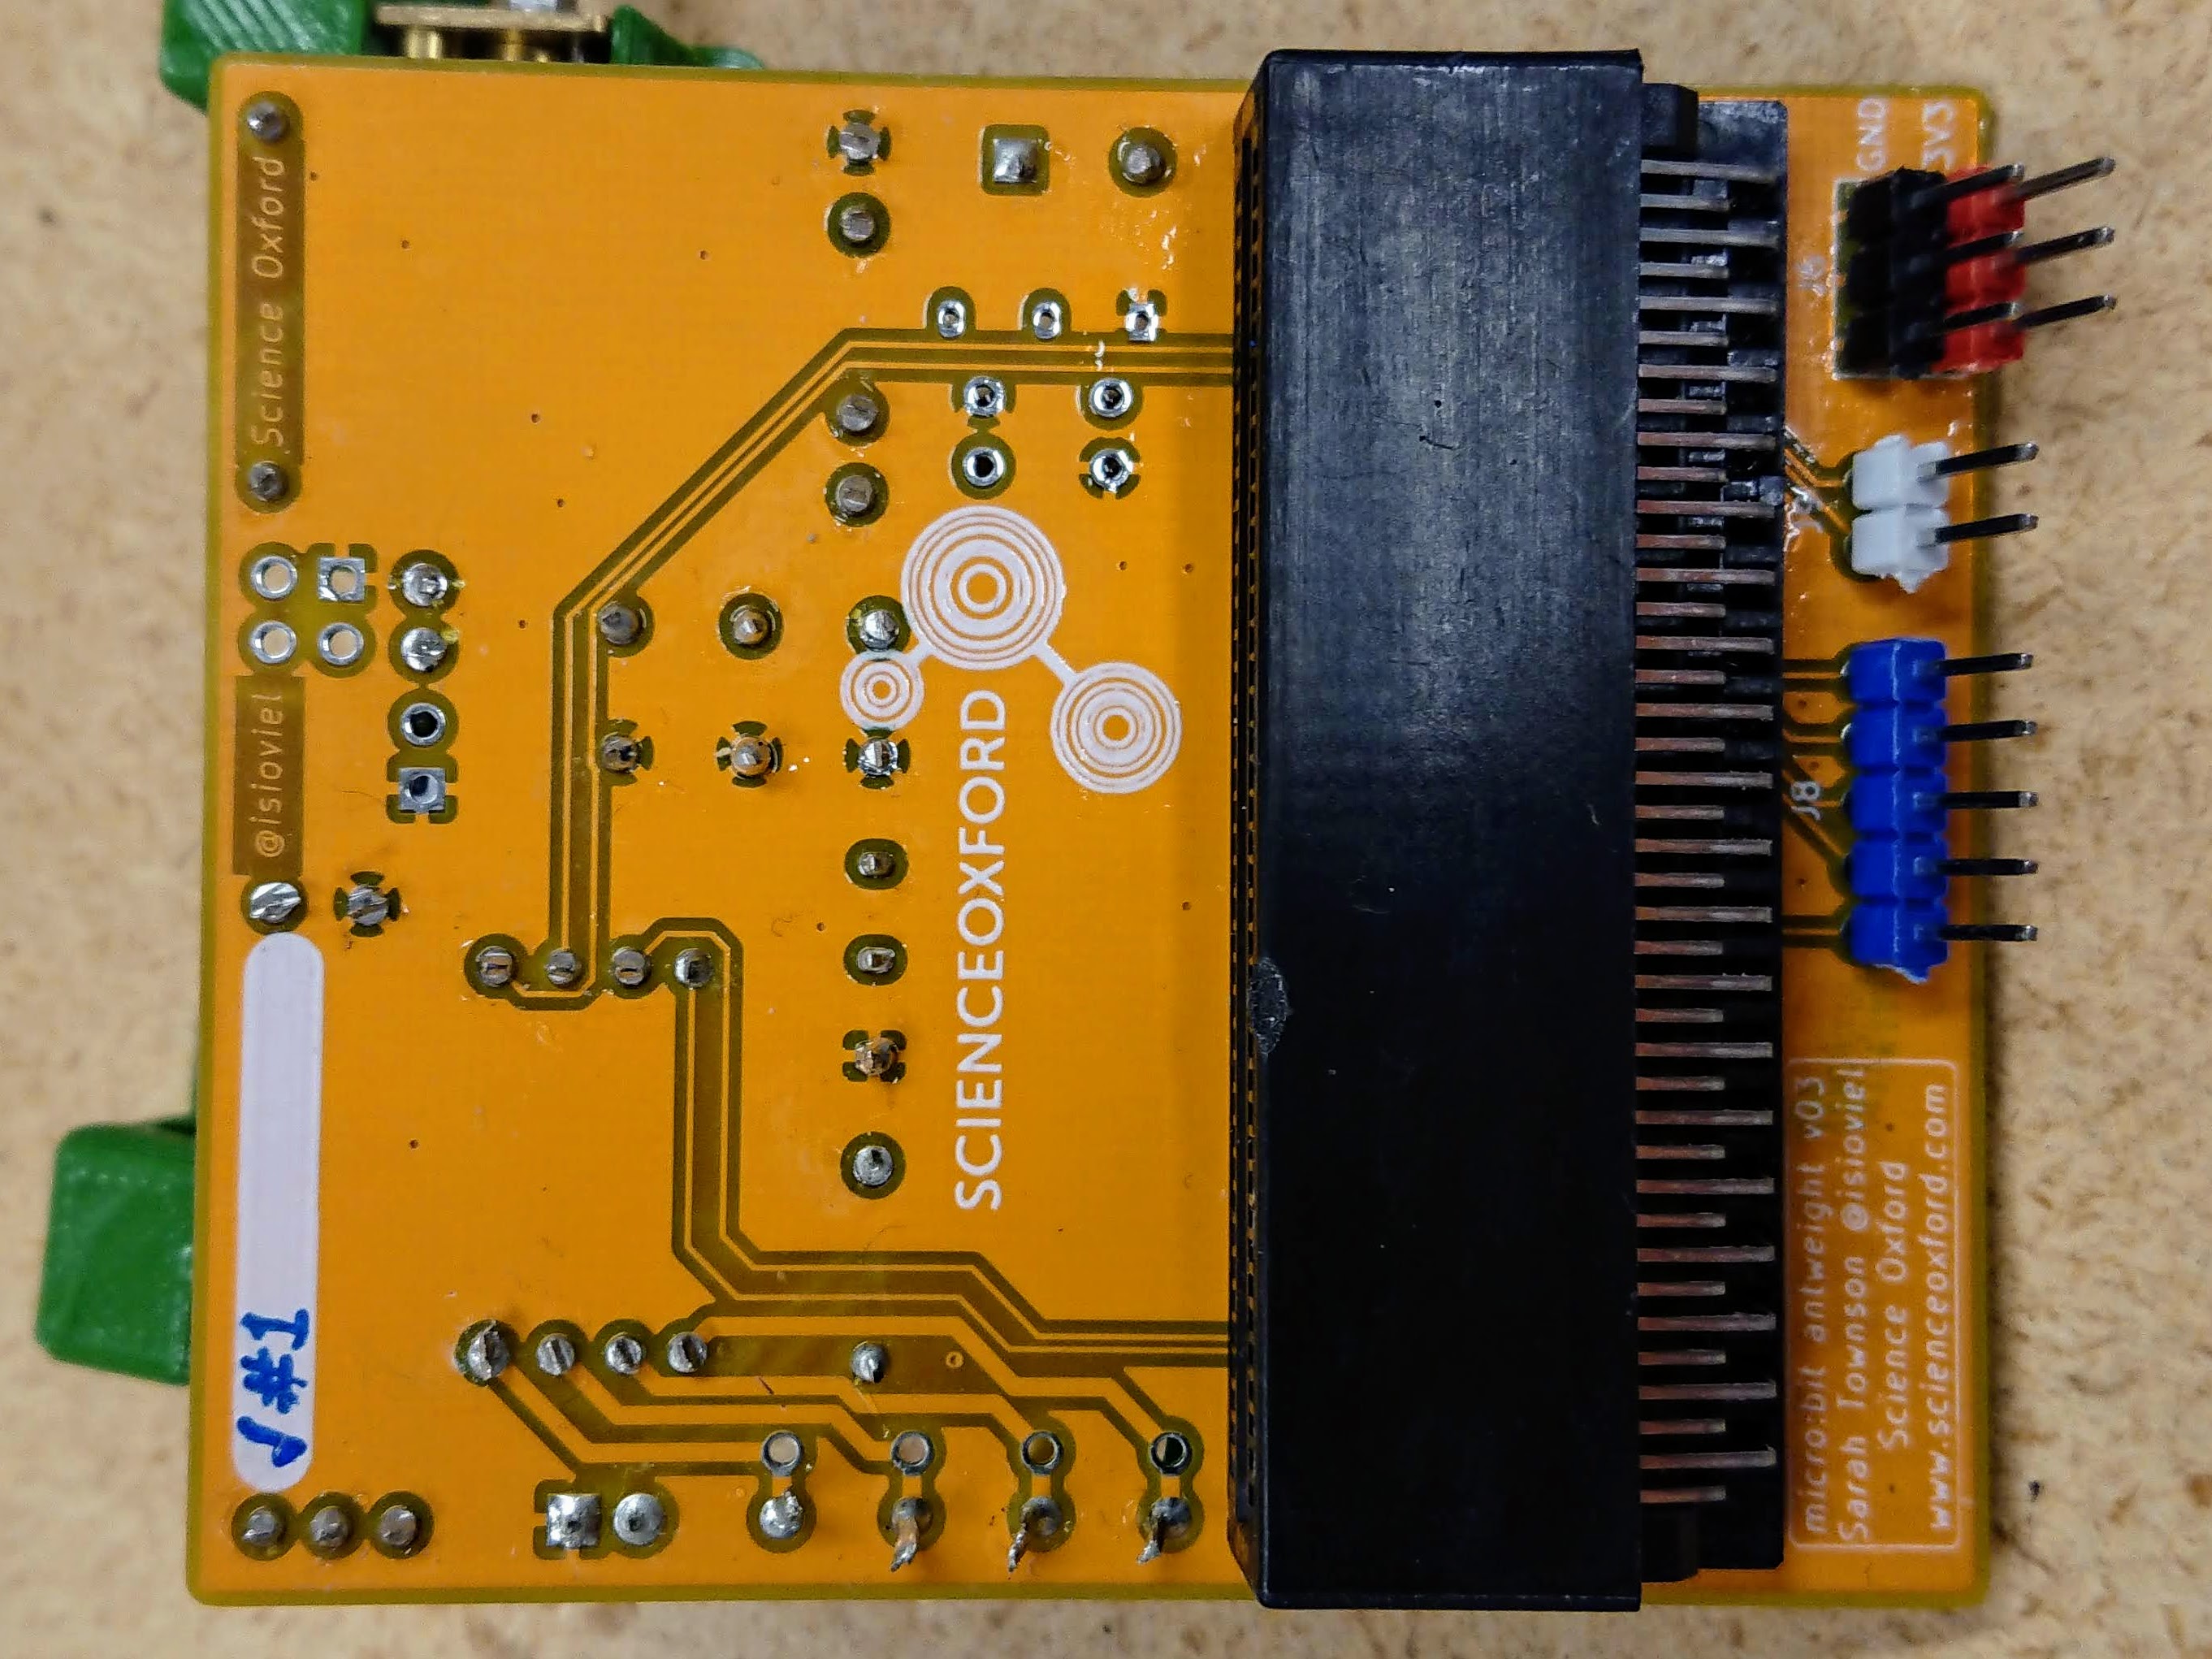
  6. You will be soldering the short end of the pins - the long end will be what you connect your parts to.

    Pins in robot
  7. Move your pins into the mini breadboard, long side down.
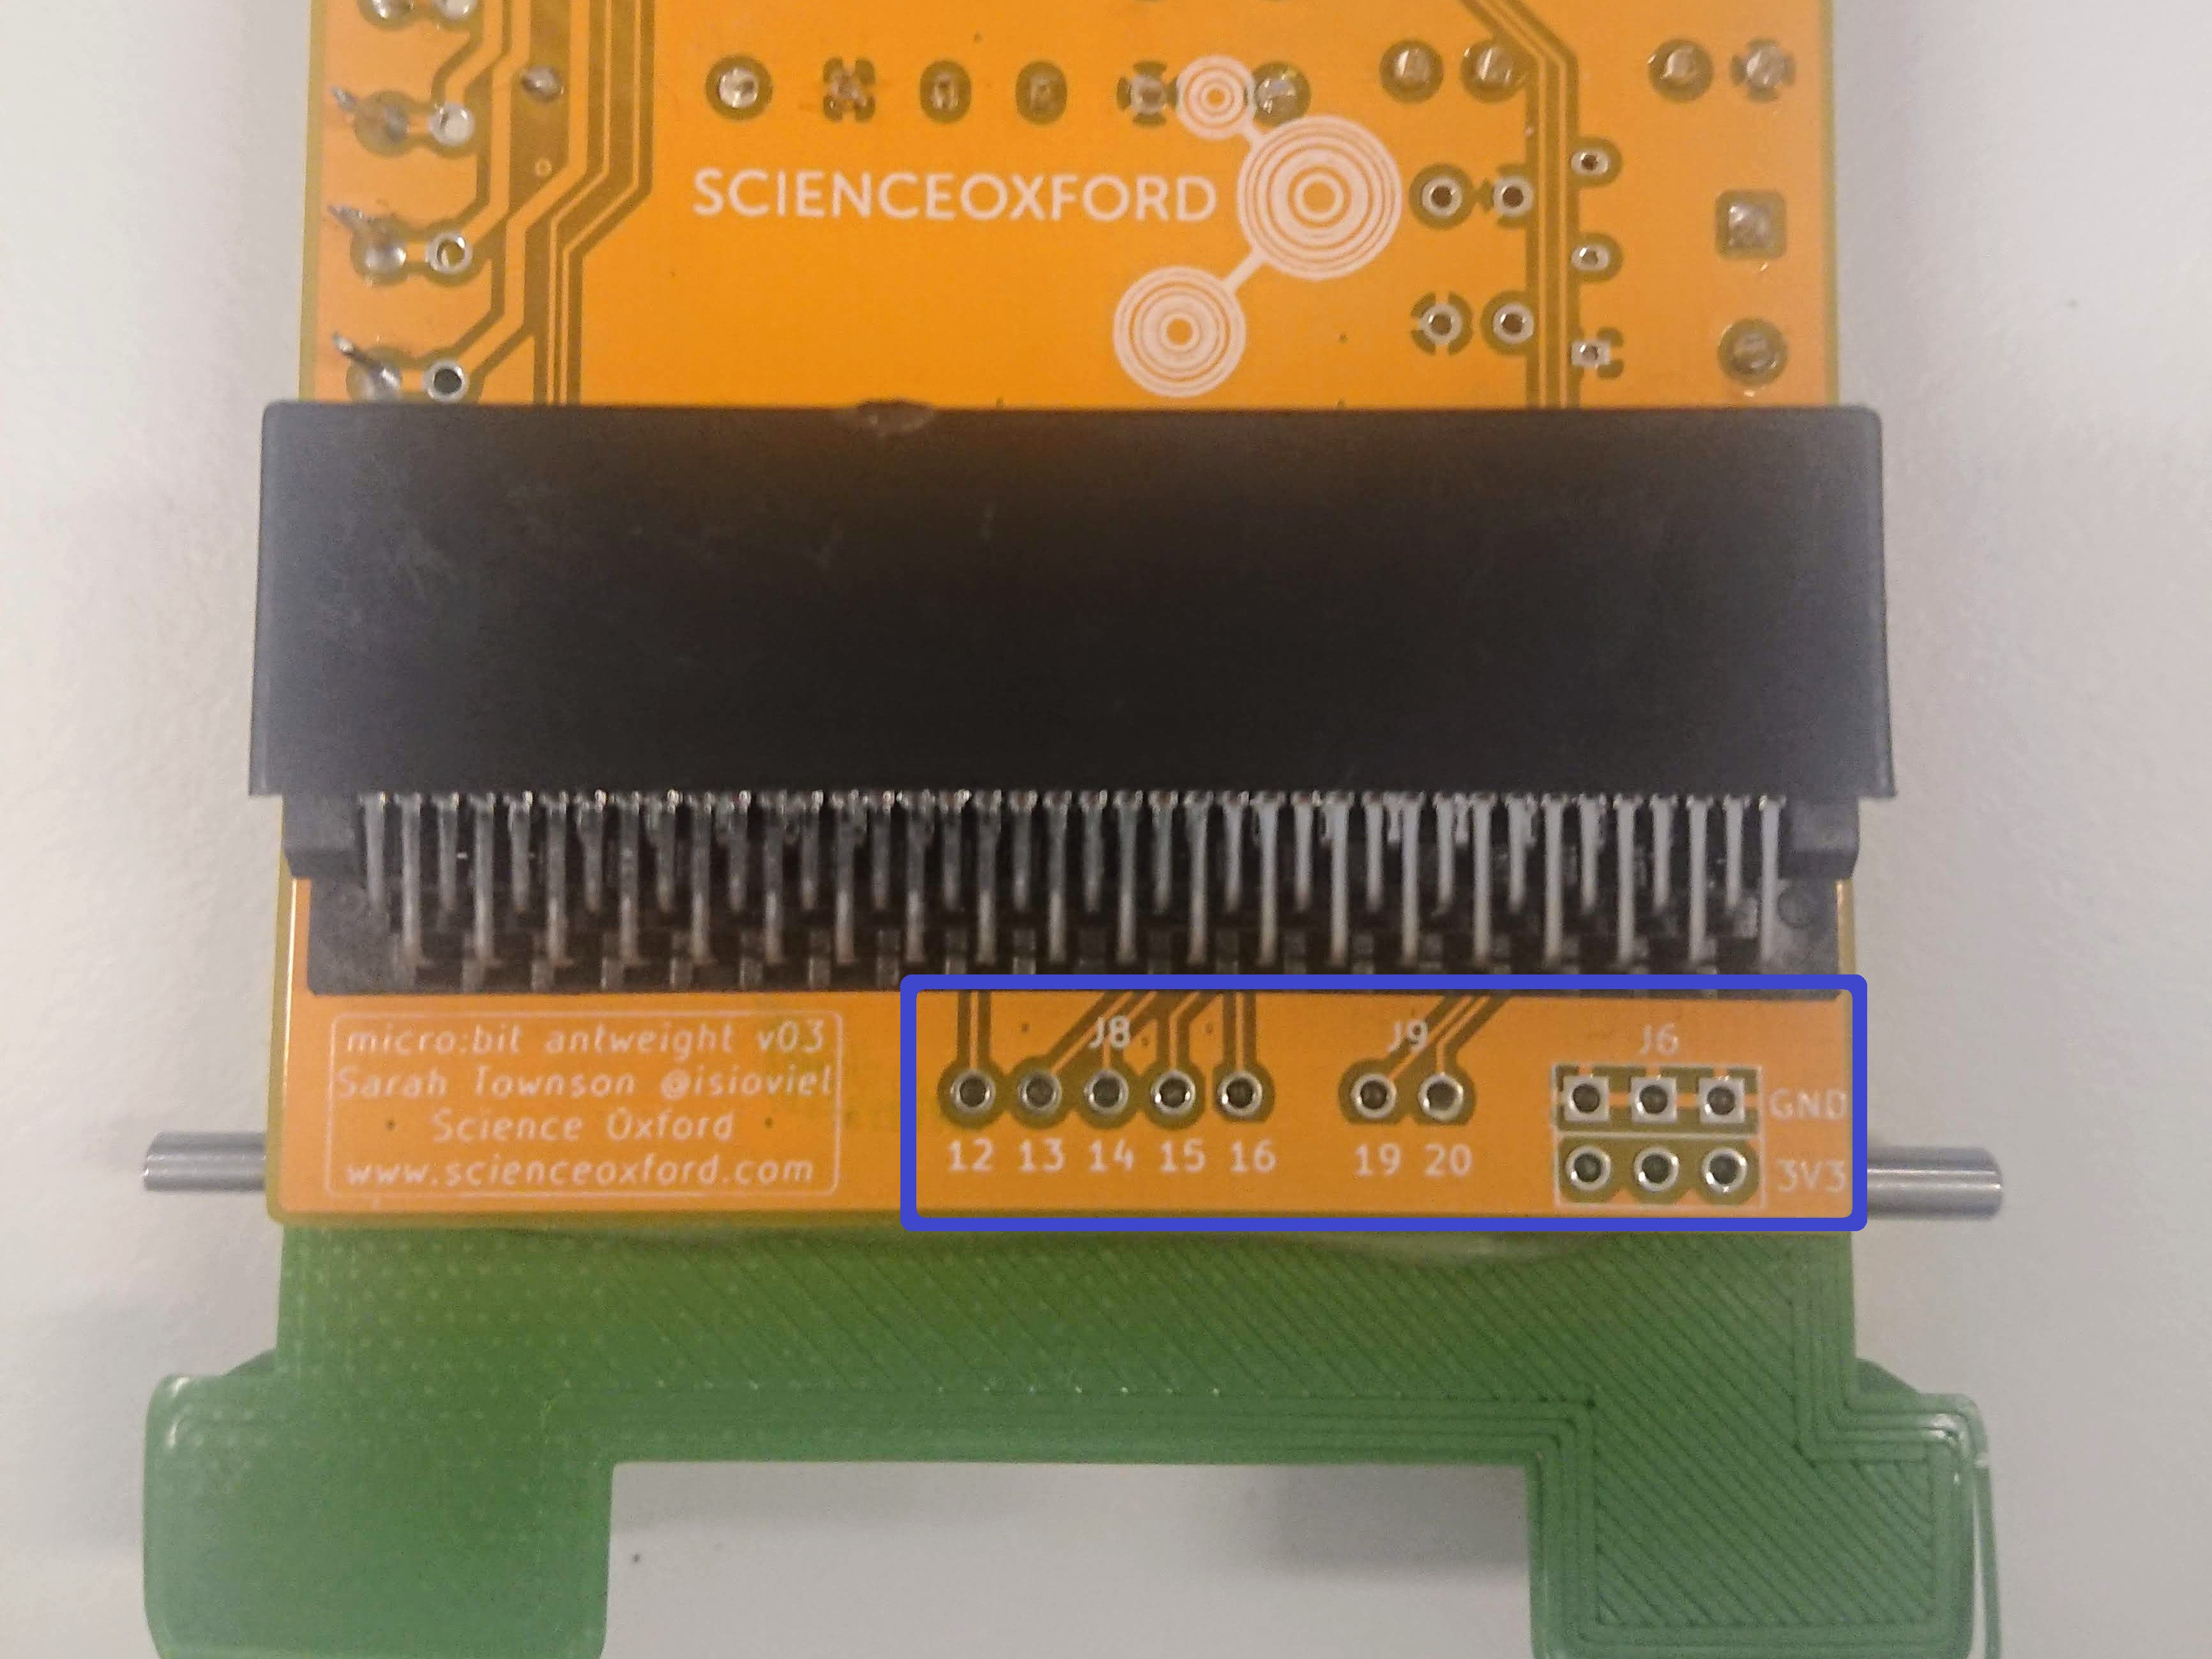
  8. This will keep them straight and in position, making them easier to solder.

    Pins in breadboard

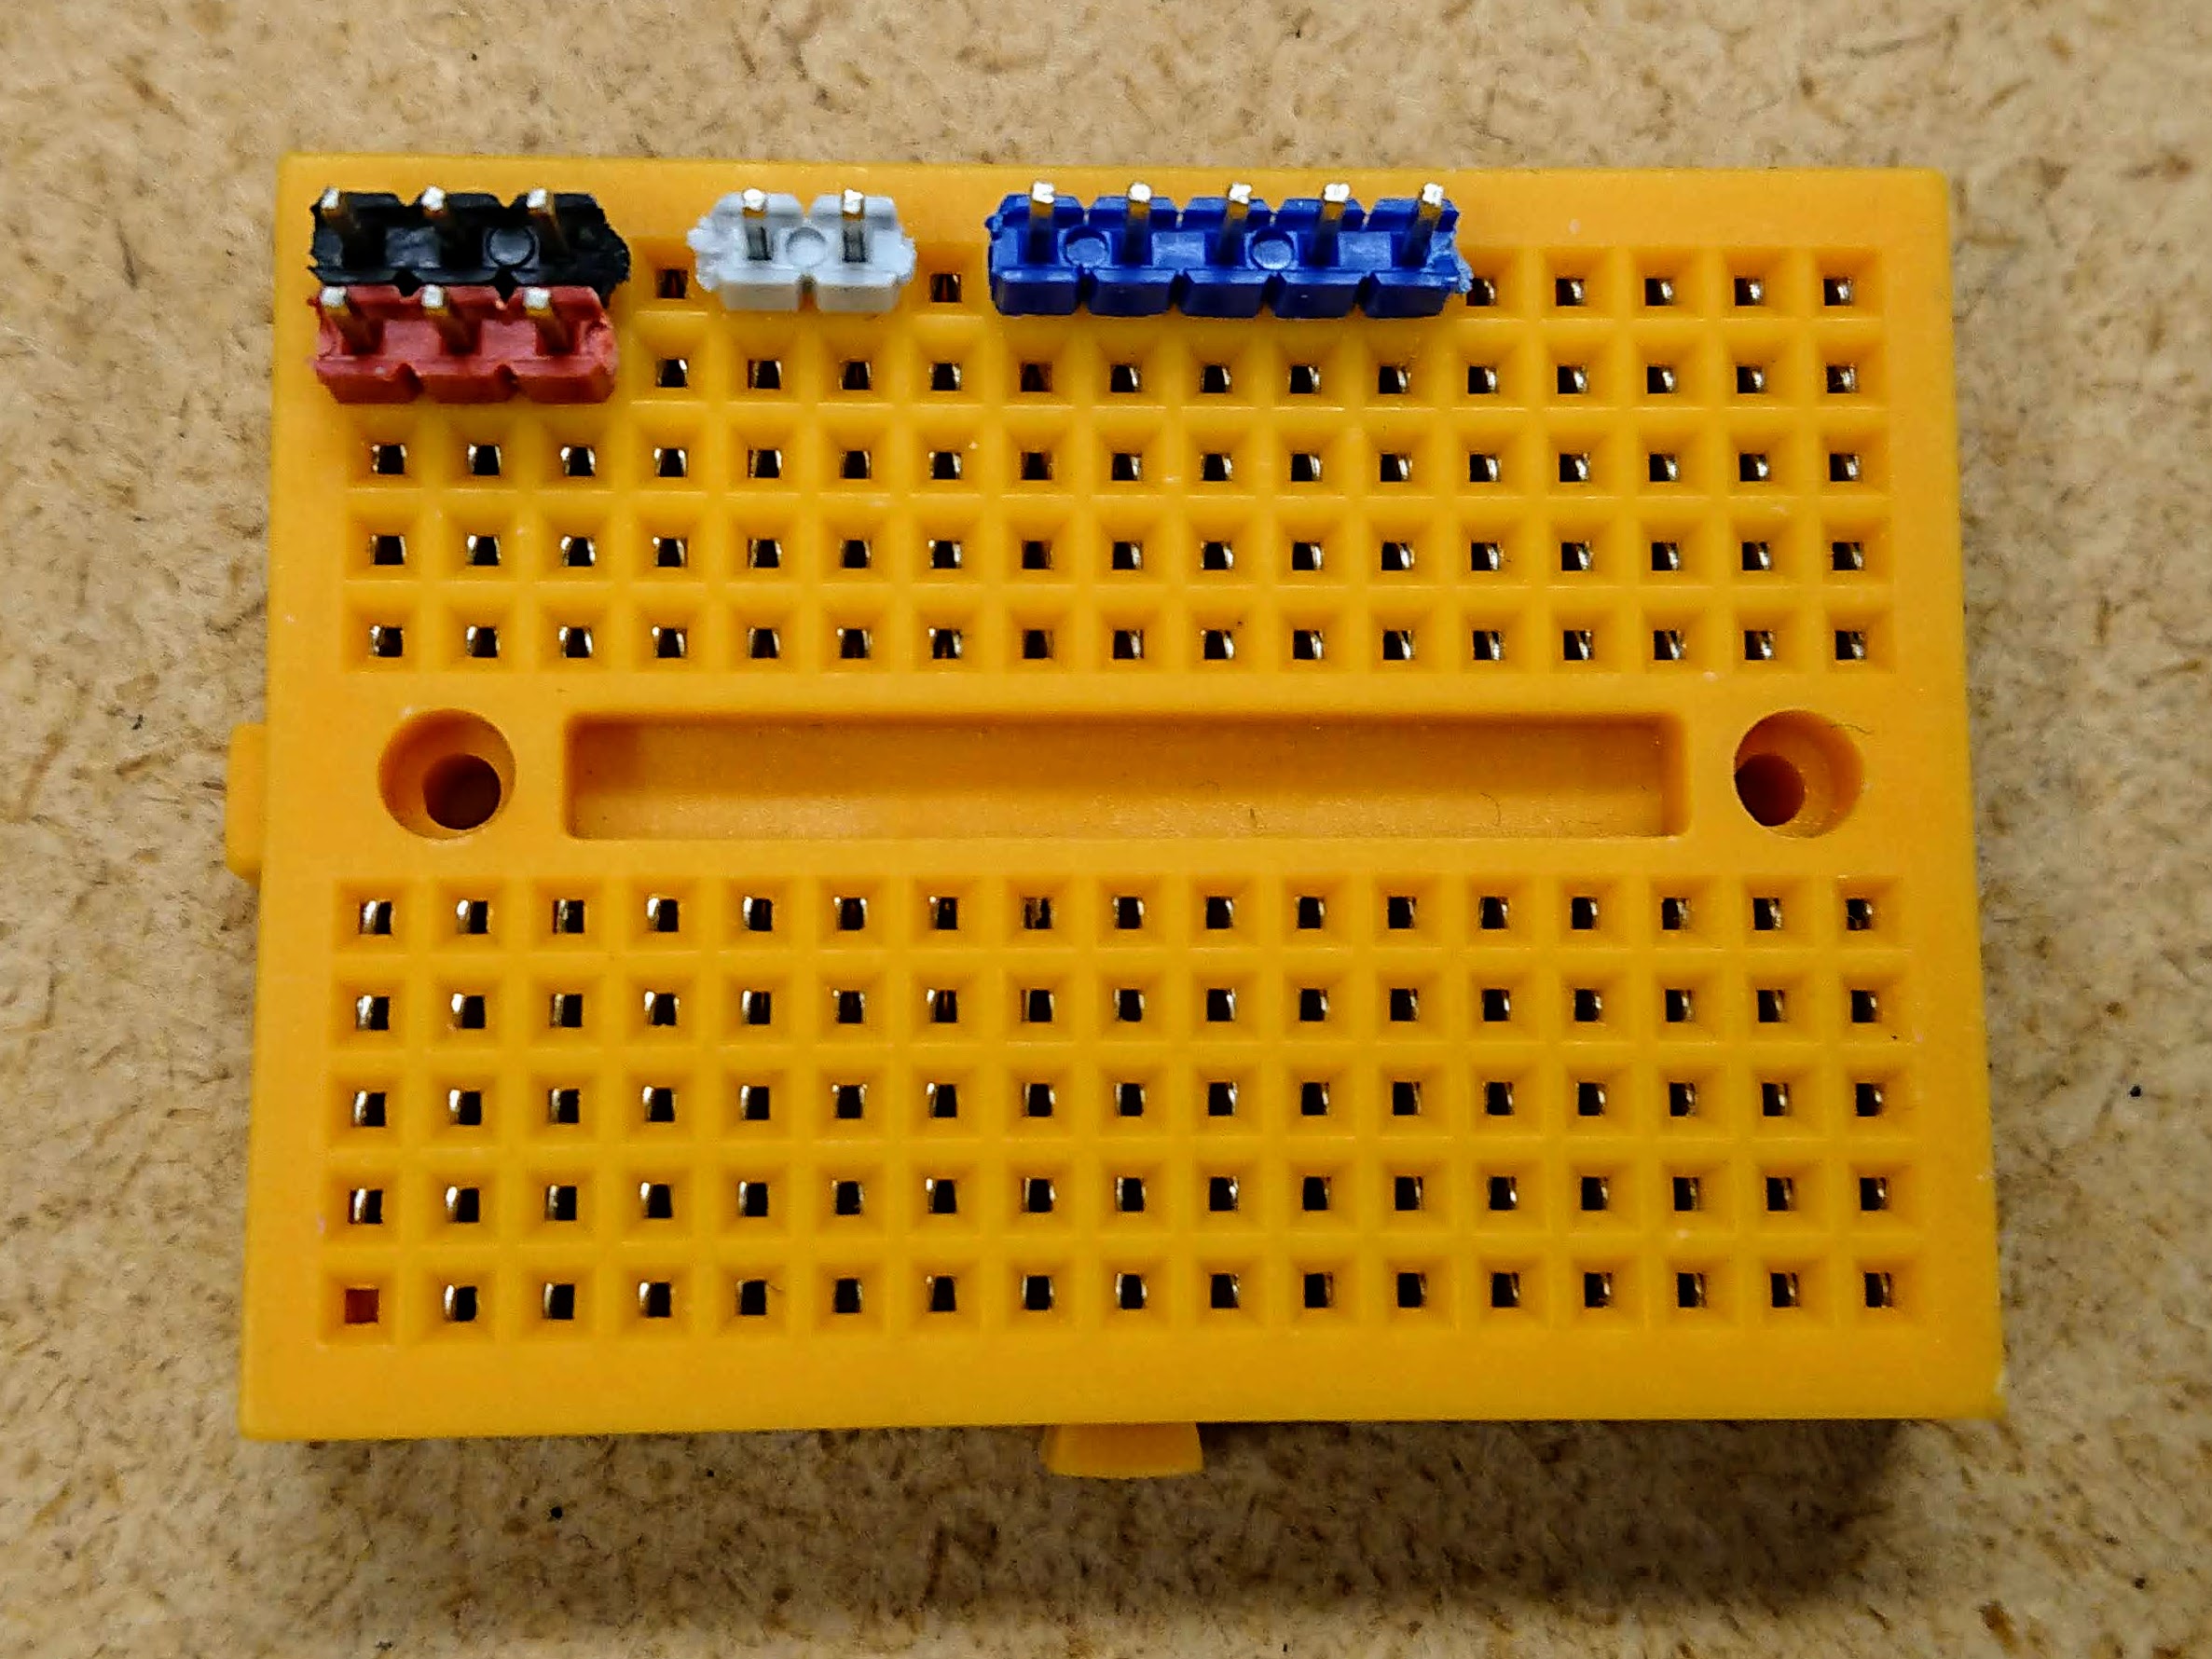
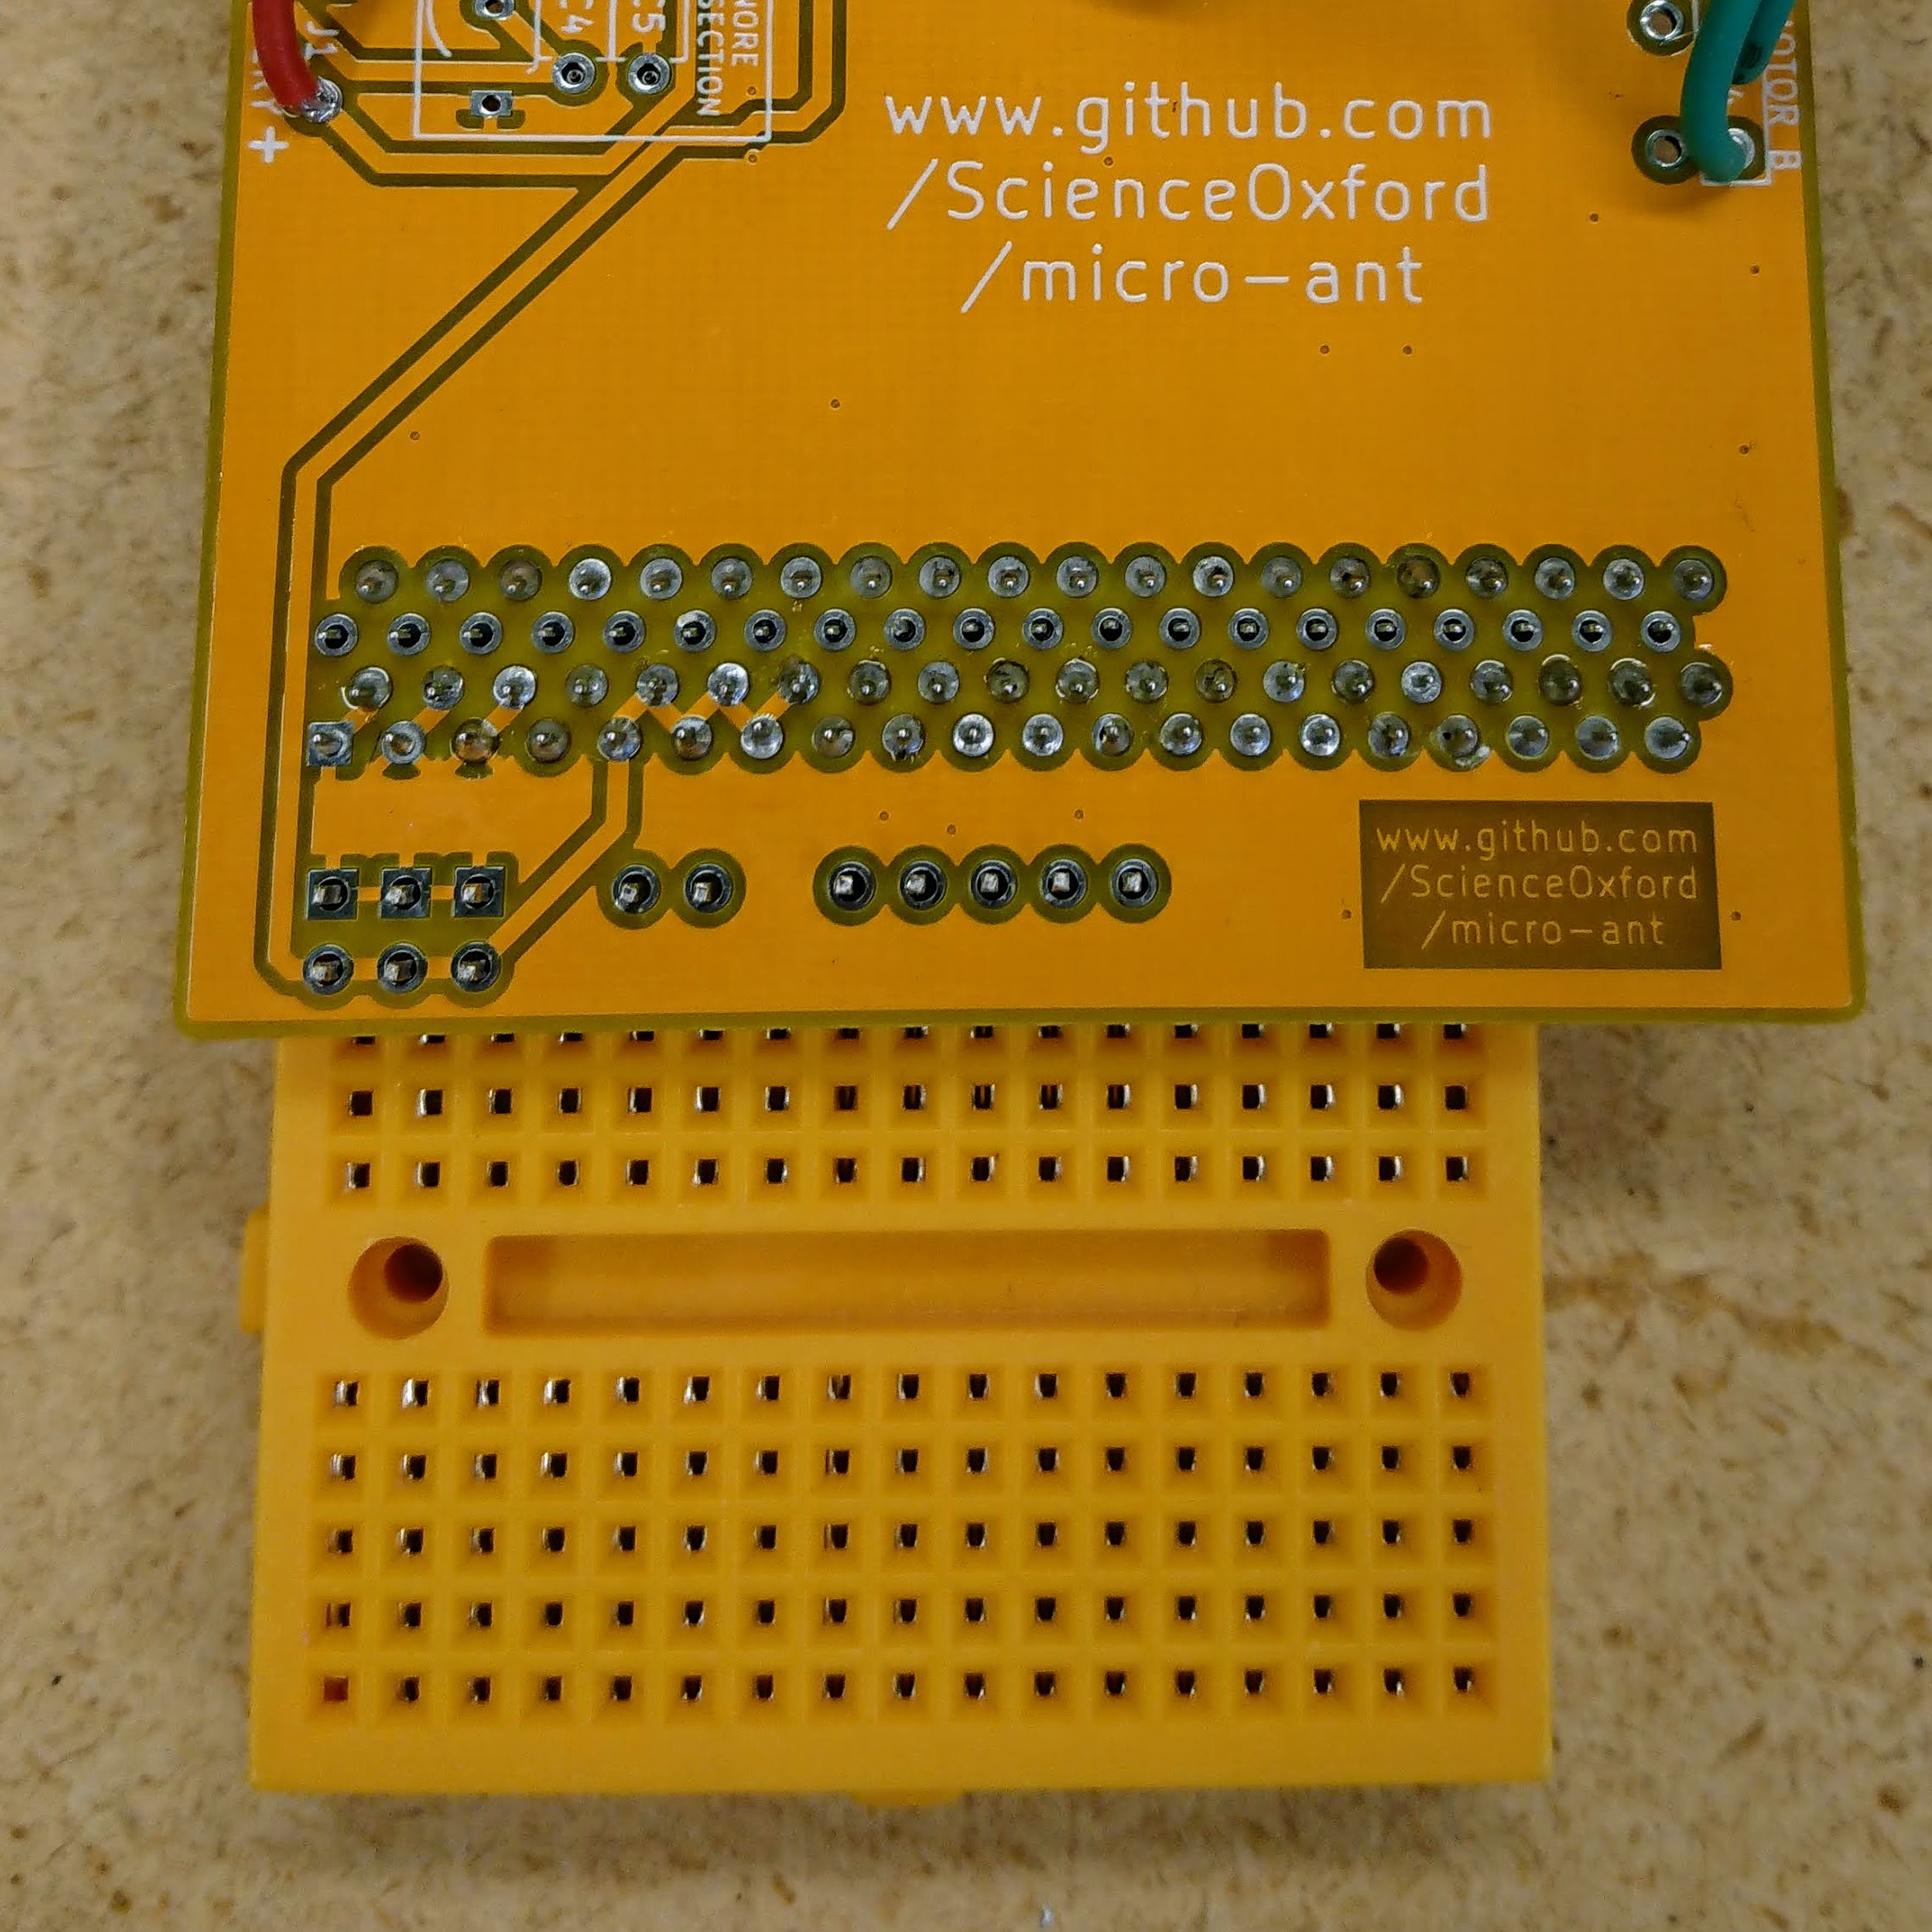
    Think about where on the breadboard to put your pins - make sure the edge connector won't get in the way!

Step 4 - solder your pins to your robot

  1. Push the pin connectors (inside the breadboard) through the holes on the circuit board.
  2. Turn your board upside down so that the side you are soldering to is visible.
  3. Pins ready to solder
  4. Solder all 13 pins to the board.
  5. Check your joints - make sure none of them are touching as this can create a short circuit.
  6. Remove the breadboard from the pins.
  7. Pins attached to robot

Connect something to your new pins

Go back to the Extensions page to get some ideas.