Session 1: programming robots and ultrasonic distance sensors
BBC micro:bits & MicroPython
Your micro:bit will be the brains of your robot; they have lots of built-in inputs and outputs, many of which you will use in your project.
We will be programming micro:bits in Python during Robot Club; the version of Python used on a micro:bit is MicroPython, which means that it's a smaller version of the full Python programming language designed to run on microcontrollers such as the micro:bit. It doesn't have everything that full Python has, and some code is specific to the micro:bit, but the syntax and programming style is the same.
Open the editor to get started.
Edit the code on the screen to turn your micro:bit into a name badge.
Fold the 3D printed case around your micro:bit and battery pack, you can hang it onto a lanyard by the battery cable.
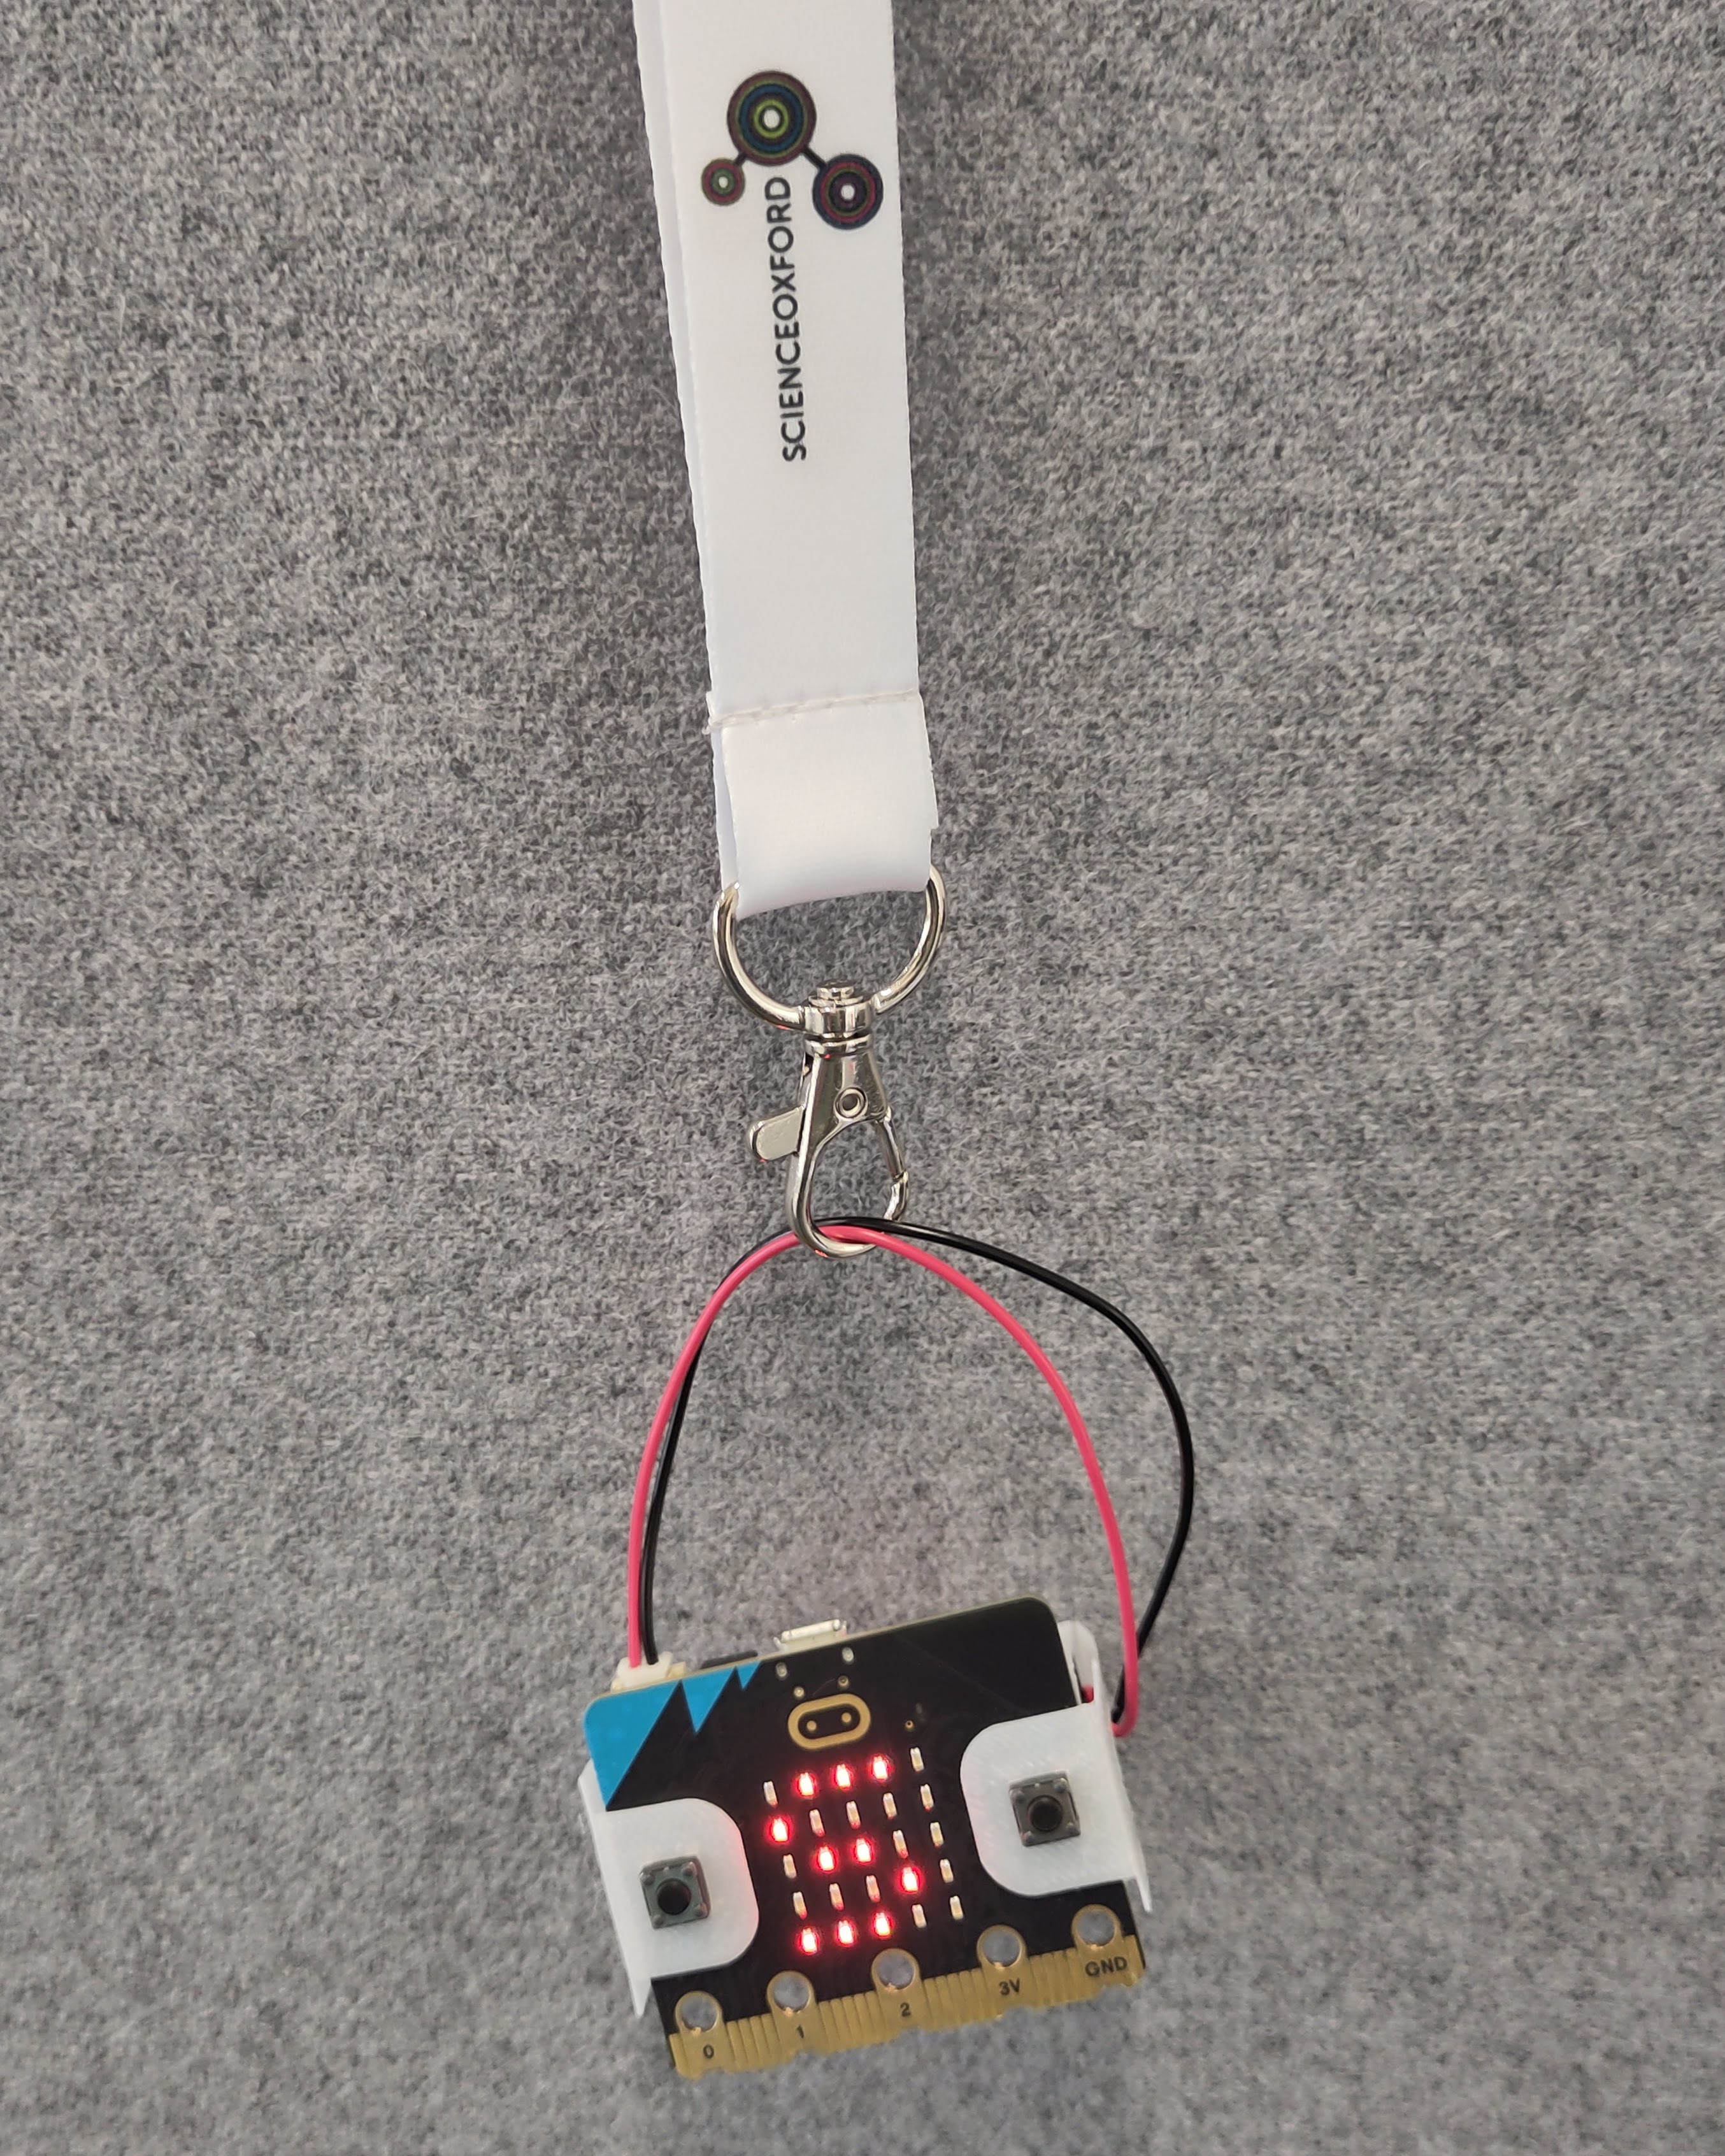
When you are finished, you can either decorate your micro:bit's case with markers, or explore the Reference menu in the micro:bit editor.
robot basics
During today's session, you will program your micro:bit to control a pre-built robot, to practice coding it before building your own.
Often when programming a micro:bit, we keep all of our code in the main file. When there are lots of functions, for example when sending instructions to motors for a robot, it is good practice to remove some of that code into the background.
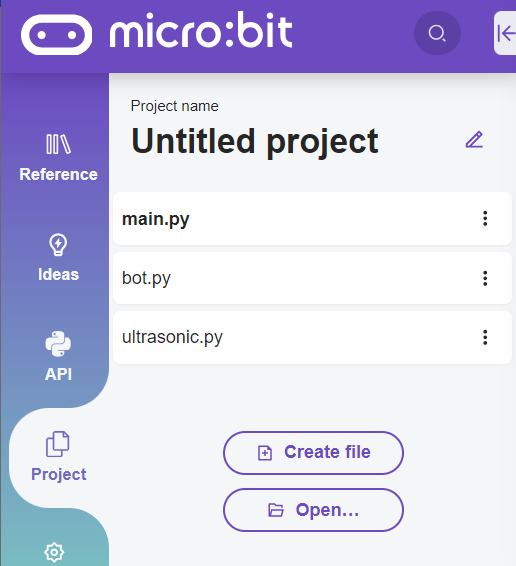
In the Project menu, click 'Create File' and name the new file 'bot'.
Copy and paste all of the code from this link into your empty new file: bot.py
In the Project menu, switch back to main.py, and add the following code underneath from microbit import * :
import bot           # get the new bot.py code
bot.config()         # set up the motors

bot.drive(800, 800)  # turn on both motors
sleep(2000)          # wait for 2 seconds
bot.stop()           # turn off both motors
Test your (borrowed) robot - does it sucessfully turn on both of the motors?
Experiment with the code:
- Can you get it to drive backwards?
Hint: you can use negative numbers - How slowly can you get it to drive without stopping?
Hint: this is an engineering limit rather than a coding limit - What is the fastest the motors can turn?
Hint: look inside bot.py - Can you get your robot to drive in a properly straight line?
Hint: the motors do not both turn at the same rate
Each robot is slightly different, and you will need to calibrate your own robot once you have built it.
Save a copy of your code so far into the computer's Downloads folder, and rename it YourName-Calibration to save your directional calibration for this robot.
designing obstacles
Now that your robots are calibrated, you can start using sensors.
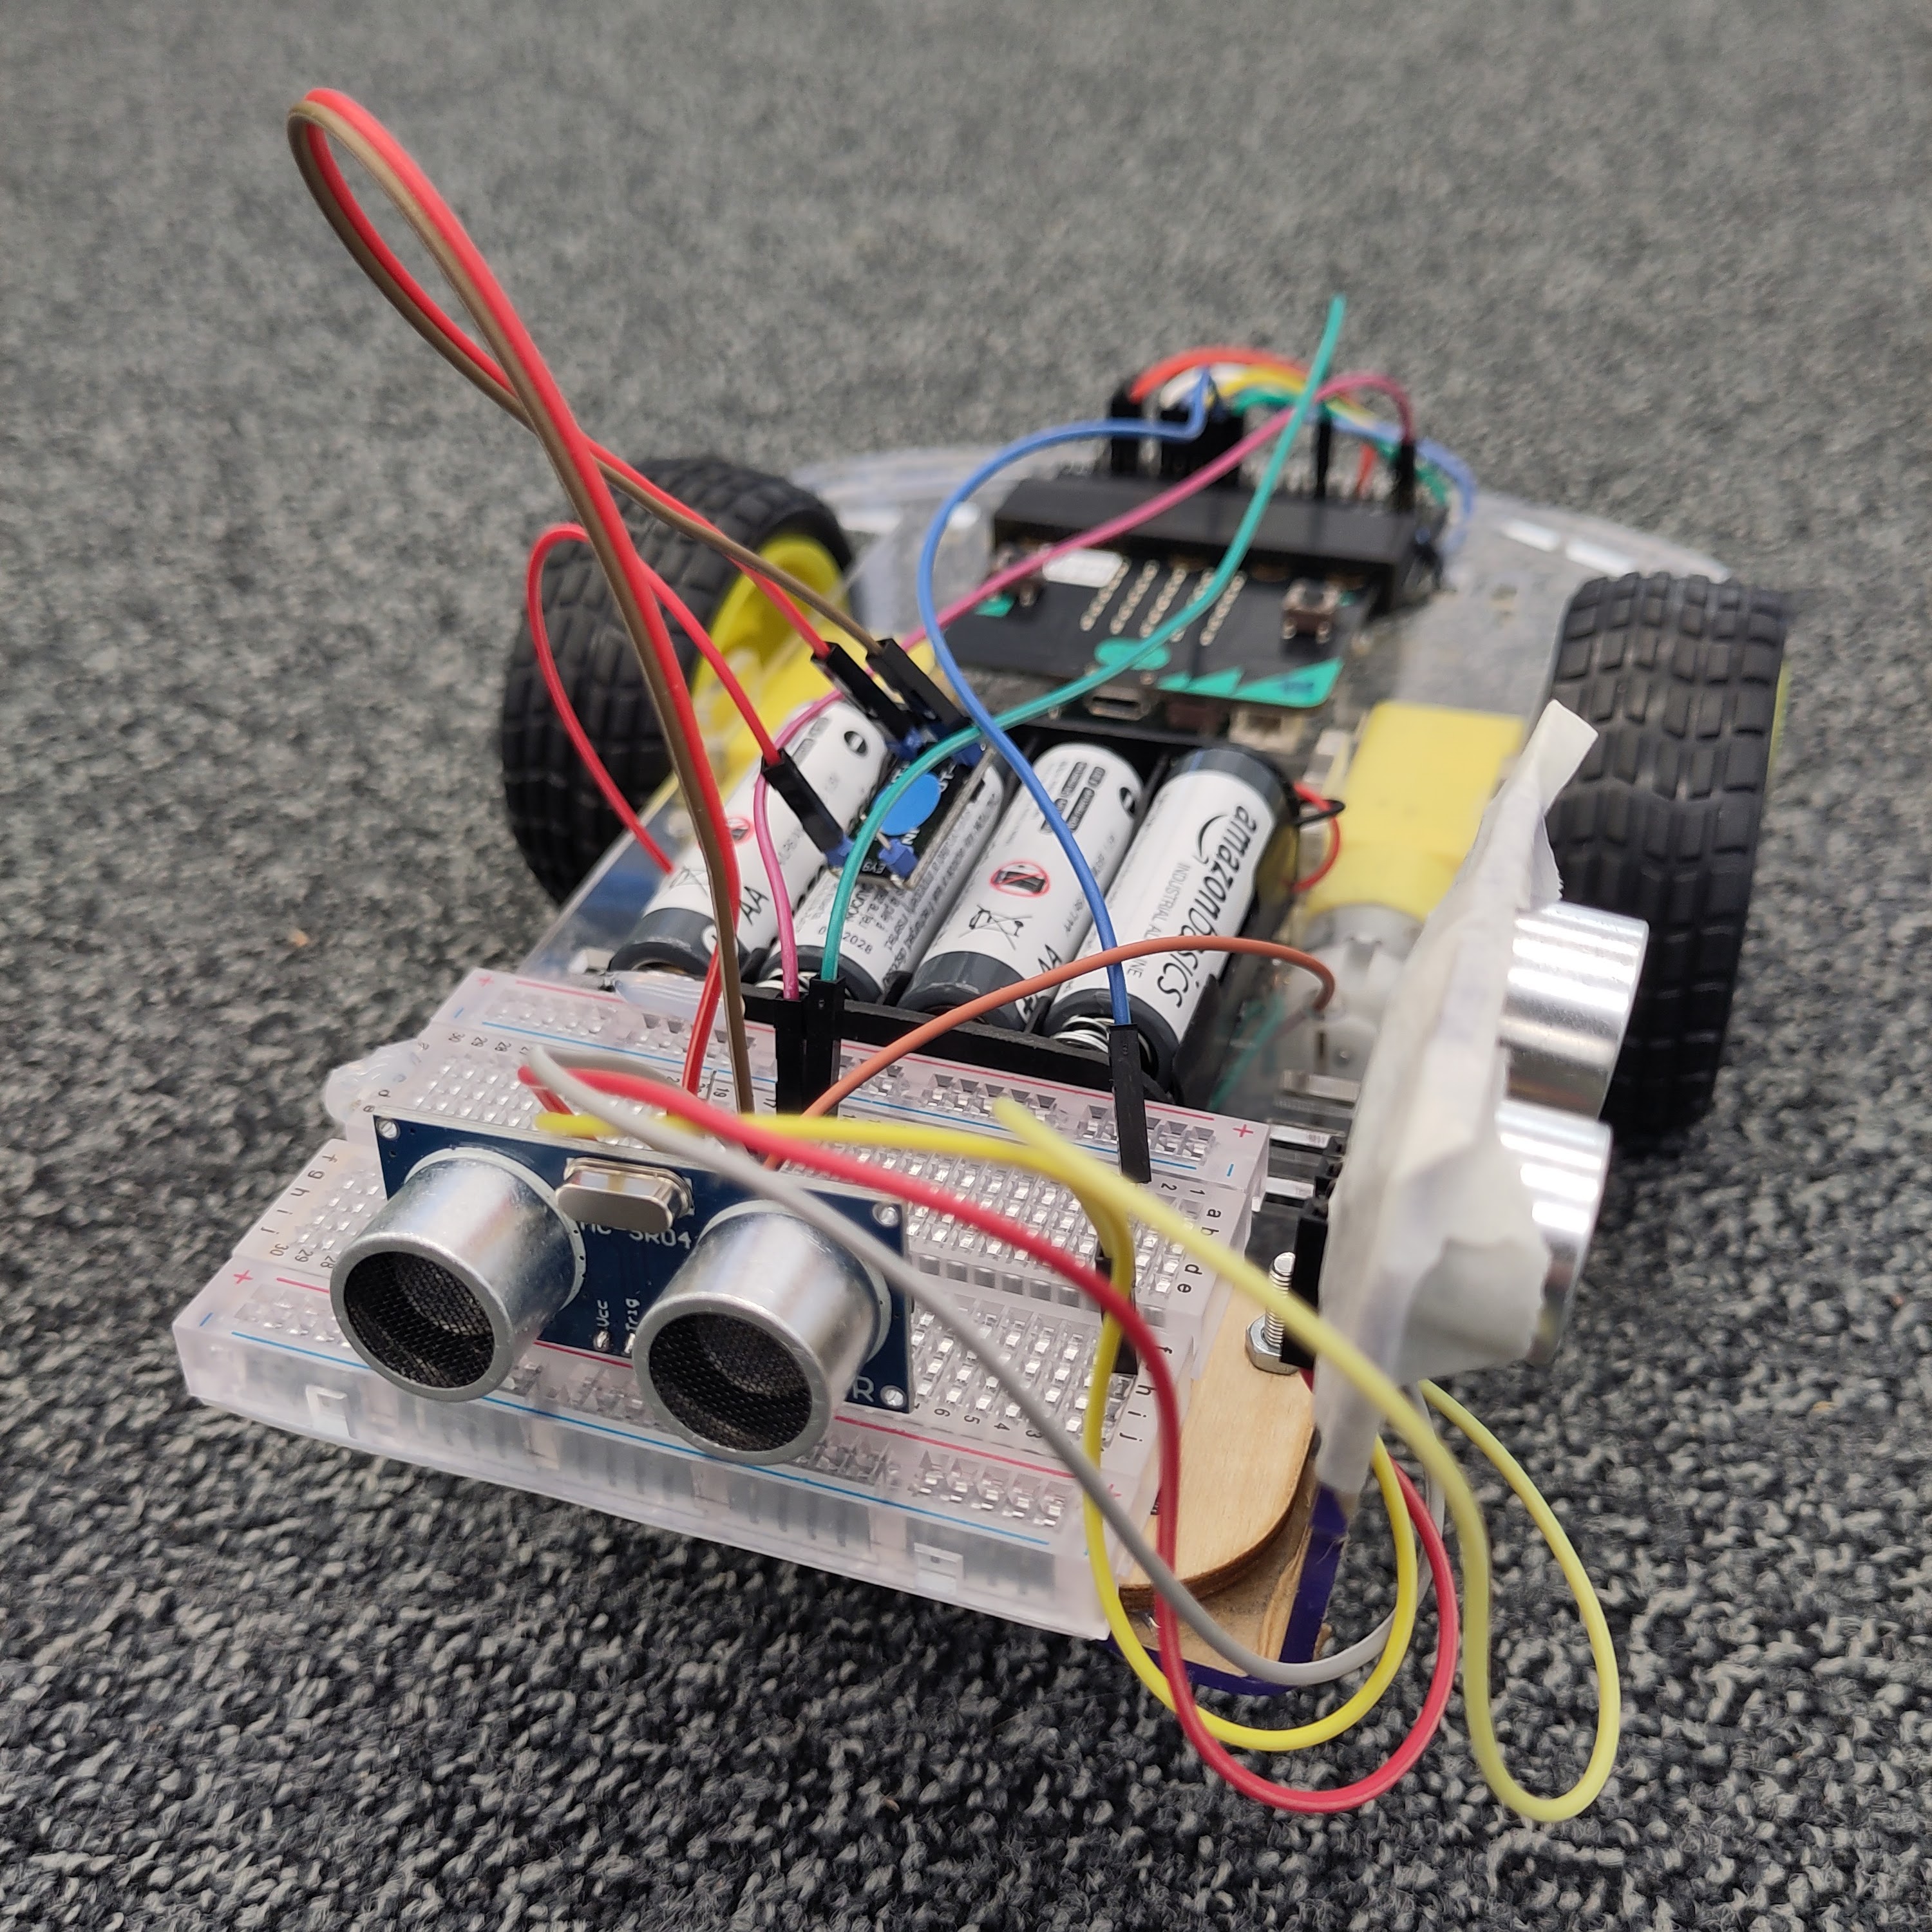
These robots have two ultrasonic distance sensors attached - one looking for obstacles in front, and one looking for obstacles on the left.
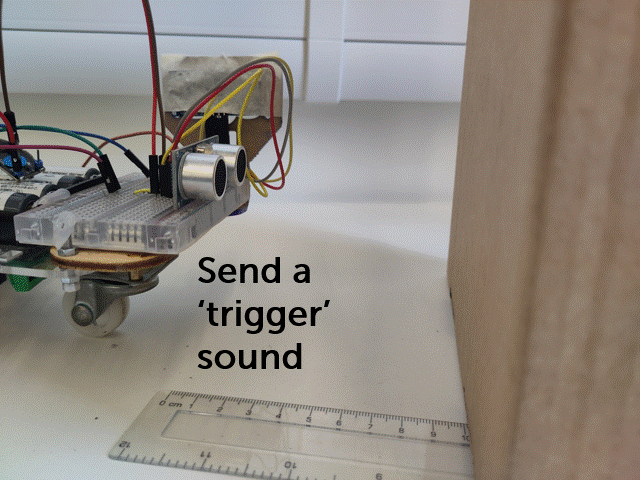
Ultrasonic sensors work by echolocation - a small pulse of sound is sent out, and the sensor waits for it to bounce off an object and return. You can program your robot to use this information to tell how far away objects are and decide whether to avoid them or not.
An example of the logic of the robot is such:
- Is there something in front of me? Y/N
- If N, drive forward, go back to 1
- If Y, stop, is there something to the left of me? Y/N
- If N, turn left, go back to 1
- If Y, turn right, go back to 1
Before you can program your robots to avoid the obstacles, you need to create an area for the robots to traverse.
In small groups, use the cardboard and other craft supplies provided to make a maze or obstactle course for your robots (don't make it too difficult!).
Consider the following:
- Where are the sensors on the robots, make sure they are able to detect your obstacles.
- How easily do your robots turn? How much space do you need to leave between obstacles?
programming ultrasonic sensors
In the Project menu, click 'Create File' and name the new file 'ultrasonic'.
Copy and paste all of the code from this link into your empty new file: ultrasonic.py
In the Project menu, switch back to main.py, and edit your code:
from microbit import *  # don't delete this!
import bot              # don't delete this!
import ultrasonic       # GET THE NEW CODE

bot.config()            # don't delete this!

# DELETE ALL OTHER CODE, REMEMBER TO SAVE A COPY FIRST
We will discuss the wiring of the sensors, and the pins used, in a future workshop, don't change any of the above code for now.
You are now set up ready to write the main logic of your robot's program.
The code you write today will also control your own robots in the future, so it is a good idea to #comment your code as you go, so that you remember why you did certain things.
psudocode logic & initial code
Here is a description of the logic of the micro:bit program, to help you to write your own version of the code.
Alternatively, you could flip the logic and use further while loops instead of if statements.
forever:

    check distance-to-front-obstacle
    if distance-to-front-obstacle is less than 10cm:
        stop

        check distance-to-left-obstacle
        if distance-to-left-obstacle is less than 10cm:
            turn-right
            wait for 200ms
            stop

        else:
            turn-left
            wait for 200ms
            stop

    else:
        drive-forward
        wait for 200ms
Remember not to change any of the set-up code. Below this, you can start the new code like so:
while True:

    front = ultrasonic.distance(echo=pin1)
    if front <= 10.0:
        bot.stop()

        left = ultrasonic.distance(echo=pin2)

    else:
        bot.drive(500, 500)
        sleep(200)
Try to write the rest of the code yourself, following the logic given in the psudocode, then test it - can you stop and turn the robot by using your hand as an obstacle?
If you need it, a working example of this code is here: distance-sensing.py.
Add your robot's calibration back in - what numbers do you need to keep the robot driving straight forward?
Test your robot on your obstacle course and then make adjustments the code as needed.
- in which scenarios does the robot behave sensibly?
- are there times when it gets stuck?
There are many ways to improve this code. Begin by working out the logic of what you want to happen, and then work on the code.
At the end of the session, save a copy of your code into the computer's Downloads folder, and rename it YourName-Ultrasonics
We will save your code for you to use in future sessions and email you a link to where to find it.