Session 3: computer-aided design
3D printing vs laser cutting
3D printer
A 3D printer works by melting plastic and extruding it through a nozzle. It builds up a design layer by layer, melting each layer onto the one underneath, creating a solid object.
It is slow, but can create complicated shapes.
Laser cutter
A laser cutter starts with a flat piece of material, such as wood or cardboard, and 'draws' on it with a laser. The laser burns when it draws, and can either cut all the way through, or mark on the surface.
It is fast, and is perfect for creating flat objects.
Choosing the right tool for the job
A laser cutter is faster than a 3D printer, and we can cut out of wood or cardboard, which is more environmentally friendly than using plastic.
A 3D printer can create very complicated objects, and can make them very strong.
When deciding which tool to use, you must think about the end goal - what properties does your object need to have?
For your robot bases, we will be using the laser cutter because:
- You only need a flat base to attach your parts to - making it 3D is not necessary.
- It is fast, so if your first design doesn't work properly, we can easily cut a new one.
- Wood is better for the environment than plastic.
- Wood is easy to modify with hand tools - if you need more holes, we can add them in without needing to remake the whole object.
Tinkercad
For this workshop, we will use the online software Tinkercad.
To access the practice files, you will be given a Classroom link and a nickname.
If you already have a Tinkercad account and would like to use it, join the Classroom with your log-in instead of with the nickname.
It is important that you use the Classroom, so that we can find your designs to print and cut after the workshop.
Practice #1 - design for 3D printing
During the workshop, we will show you how to use Tinkercad to create a small shape suitable for 3D printing.
Click on the links below if you need a recap of any sections - each one is a different tutorial:
- How to... add a shape
- How to... resize a shape
- How to... change the view
- How to... move a shape
- How to... rotate a shape
- How to... align two shapes
- How to... add a hole
- How to... group your shapes and holes
For this practice, you must work on the example badge base, so that everyone's design is the same size and can be printed quickly.
Add shapes or text onto it to create a design of your choice - keep it small and quick!
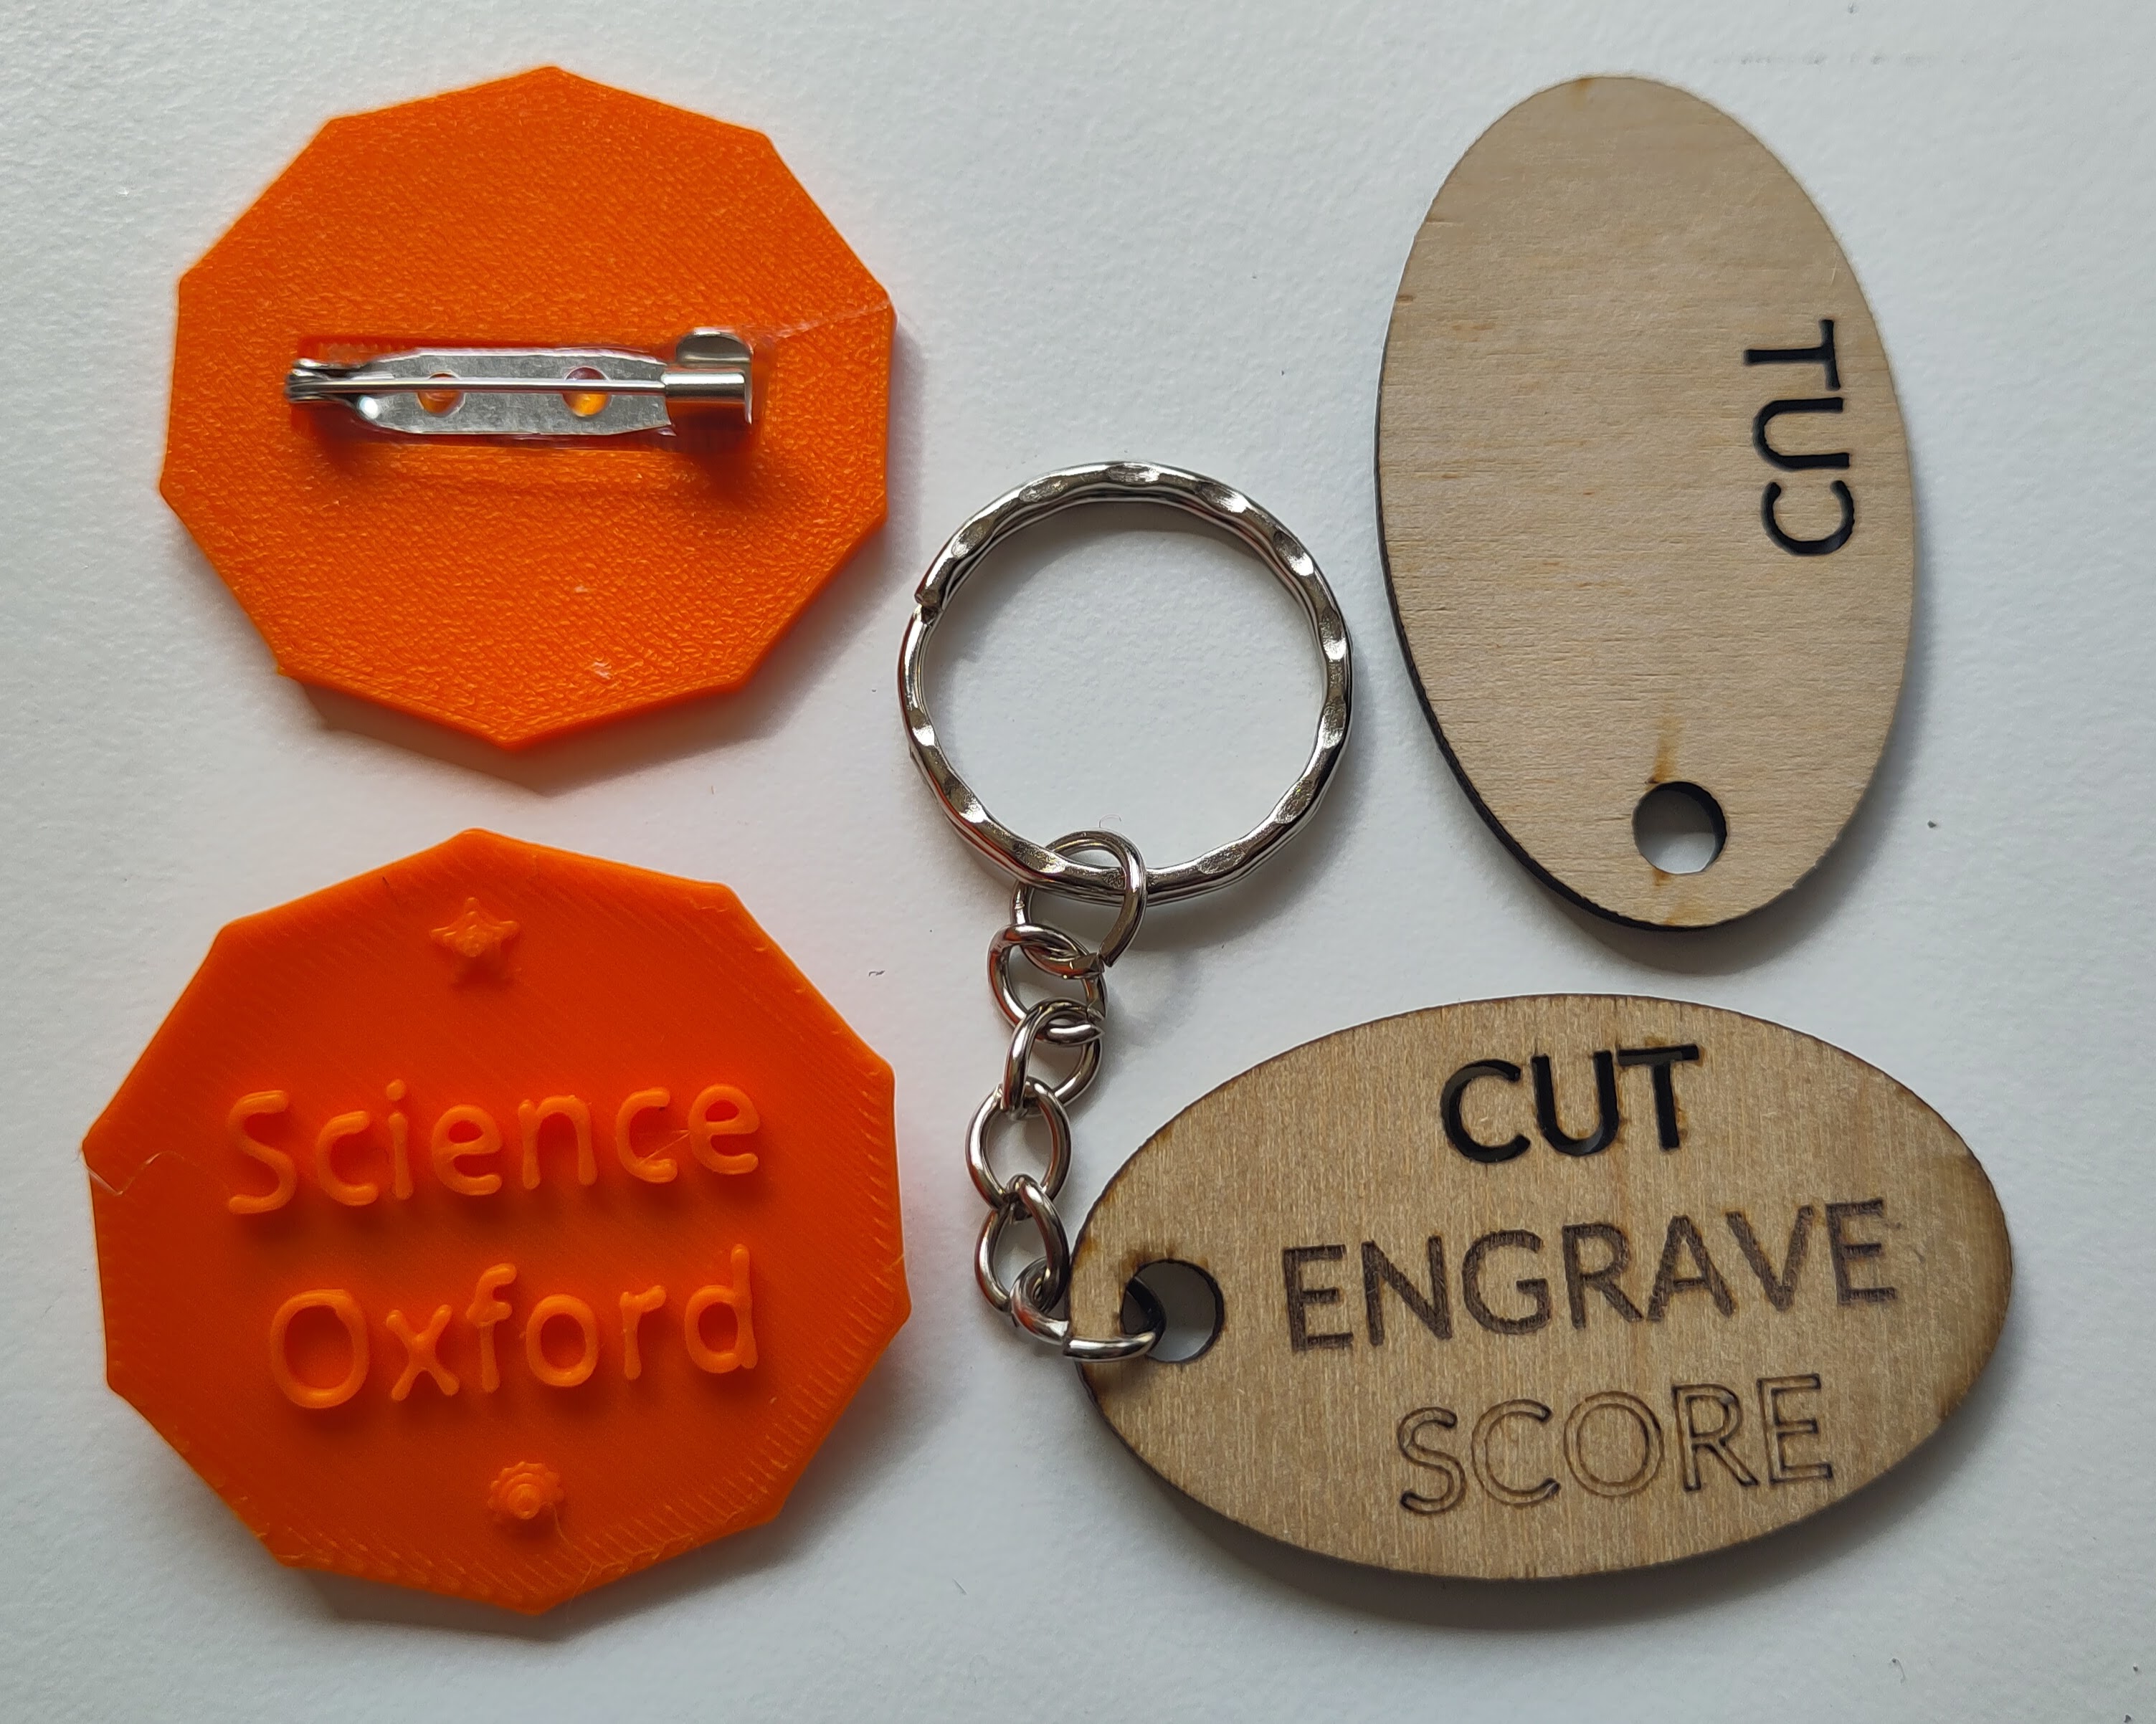
We will 3D print your creation in white plastic. You can collect it next session and decorate it if you wish.
Practice #2 - design for laser cutting
During the workshop, we will show you how to use Tinkercad to create a small shape suitable for laser cutting.
To designing a flat shape in Tinkercad, you need to think a bit differently. For a recap of what we discussed, click here.
For this practice, you must work on the example keyring base, so that everyone's design is the same size and can be cut quickly.
Add shapes and text onto it as holes, to create a design of your choice - keep it small and quick!
Add a note to your design to let us know which parts of your design should be cut, scored, engraved.
We will laser cut your creation in wood. You can collect it next session and decorate it if you wish.
Design your robot's base
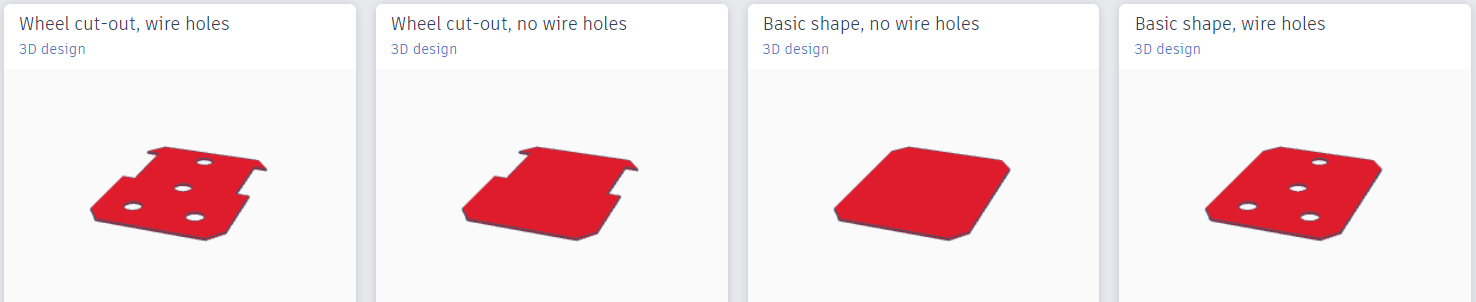
In the Tinkercad Classroom, we have given you four different designs to start with. You can also start from a blank Workplane to make your own outline.
Design rules
Your robot base design must:
- Fit onto an A4 sheet
- Be large enough to fit all of your parts on to
- Have some holes for wires
- Have space for the wheels, so they will not catch
- Be recognisably yours (e.g. add a name or initials)
Your robot base design can:
- Be made of multiple parts (if they all fit onto an A4 sheet)
- Have holes for bolts or screws
- Be completed at home, if you send us your file before the deadline