Resources for the 'Coding for Time Lords' Creative Computing Club.
During this workshop, you will use a BBC micro:bit and some extra electronics to make an alarm clock.
This page recaps what we discussed as a group.
To skip to the examples and ideas, click here.
Open the Mu editor on your computer. If there is code on the screen, start a New program from the menu.

Type these two lines of code into your blank window:
from microbit import *
display.show(Image.HAPPY)
Plug your micro:bit into the computer, then click Flash:

Some code should be running on your micro:bit!
If you get a message scrolling across the micro:bit's screen, this is an error message!
Debug your code, then click Flash again to test your changes.
Once your code is working - change it!
Instead of HAPPY, can you think of another Image the micro:bit could show on its display?
If you have a micro:bit v2, you can use the built in speaker to play some audio files.
Edit your code to add in two new lines, in between the original two:
import audio
audio.play(Sound.GIGGLE)
Your finished code should look like this:
from microbit import *
import audio
audio.play(Sound.GIGGLE)
display.show(Image.HAPPY)
Try some different Sound files, a list is here.
What happens if you change the order of the last two lines, so that the display.show() comes before audio.play()?
Remember to Flash your code every time you make changes.
You now know how to use the micro:bit's display, and it's speaker - these are both useful for a clock.
The micro:bit cannot tell time by itself, it needs some extra electronics - a board called a 'Real Time Clock', or RTC.
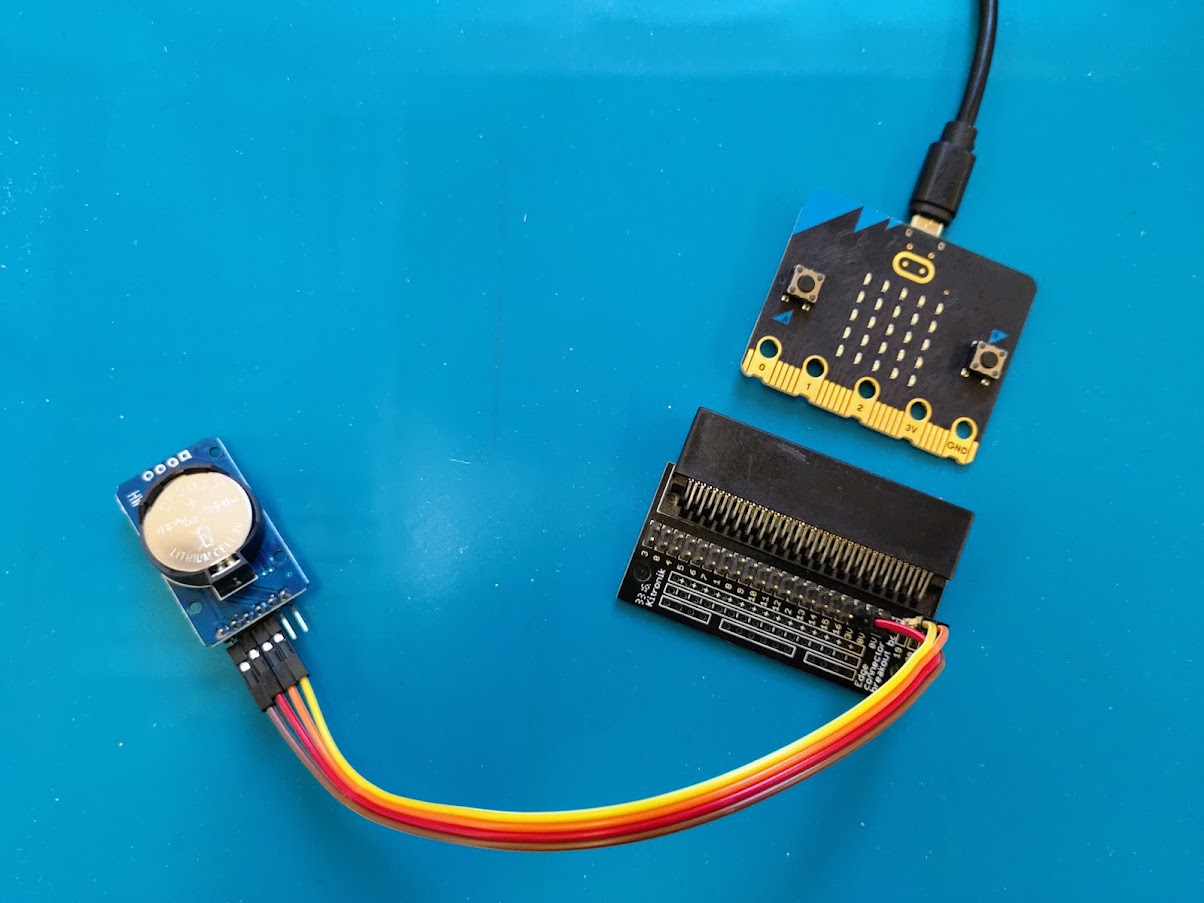
If you are in Science Oxford's workshop, we will have connected the RTC to a connector - push your micro:bit into the connector like in the picture below.
If you are doing this at home, see multiwingspan's guide to get your parts connected.
To get the RTC working correctly, you need some set-up code.
Download the starter code (adapted from multiwingspan's) here: starter.py
Do not edit the code at the top for now.
Your code begins at line 60, and looks like this:
display.show(Image.DUCK)
sleep(1000)
while True:
    if button_a.is_pressed():
        time = get_time()
        display.scroll(time['year'])
    else:
        display.clear()
        sleep(100)
Before making any changes, run the code and try it out.
Try changing the code so it displays the month, or hour, instead of the year (you will learn how to show more than one at once in the next step).
Your options are:
'year''month''day''hours''minutes''seconds'Don't miss out the quote marks around the words!
So far, you have put one piece of information on the micro:bit at once.
To make a proper clock, you need be able to merge at least two things together - time['hours'] and time['minutes'].
The information looks like a number, but it is actually a type of data called a string.
You can't do maths with strings, but you can stick them together!
Take a look at this line of code:
display.scroll(time['hours'] + ':' + time['minutes'])
The plus symbol is used to add numbers together like normal maths, but when used with strings, it concatenates them.
It sticks them together with a ':' in the middle.
Replace your current display line with this one, and see it in action.
Can you do a similar thing with the date? How would you merge three pieces of information?
You have a basic clock now, what do you want to add next?
The links below give you some other ideas of things you could add to your project.