Resources for the 'Self-Driving Cars' Creative Computing Club.
This page recaps what we discussed as a group.
To skip to the advanced extensions, click here.
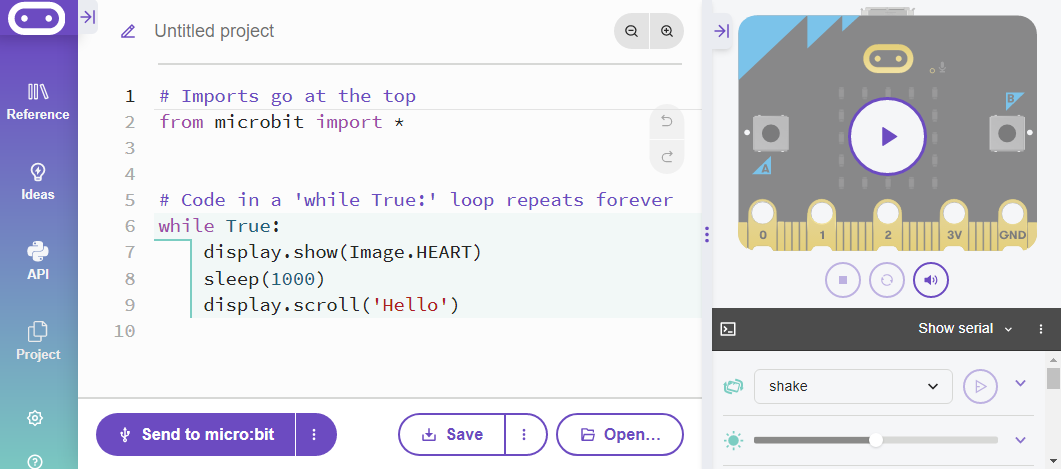
Open the Python editor by visiting python.microbit.org/. Your screen will look something like this:
Edit the code on the screen, then flash it to your micro:bit to see the changes.
Try:
Download the project hex file, and open it in the Python editor.
This file includes a library, car.py, and the main file to write your own code in.
Send this code to the micro:bit, plug it into the car's edge connector, and test it out - how far does the car drive before stopping?
What features do you need to add to the code to make the car work properly?
Currently, the car is set to stop as soon as one of the sensors goes over the black line.
The next step is to program the car to turn off the black line so that it can keep following the road.
IN-PERSON DEMO HERE - INFO TO BE ADDED
The Python way of writing this is:
elif left_sensor > 100:
    car.left_turn(500)
Where the number inside the brackets is how long the car should turn for - you will need to test out your own car to find the best amount of time.
Below is the full code (replacing your current while loop), including turning left if the left sensors goes onto the line. Try it out, then add the right sensor yourself.
while True:
    left_sensor = pin2.read_analog()
    right_sensor = pin1.read_analog()

    if left_sensor <= 100 and right_sensor <= 100:
        car.forward(500)
    elif left_sensor > 100:
        car.left_turn(500)

    else:
        car.stop()
Test out your car on the roads - how well can it cope with the corners?
Your car might not be able to cope with very tight turns - test it out on some of the winding bits of road.
To improve this, you could:
You can add another argument to the turn functions, so they have two numbers:
car.left_turn(500, 750)
Try out different numbers to see if you can get your car safely round the difficult bends.
Can you design your own roads to test your car on?
- this part is challenging, an extension for those who have been before
- using radio to listen out for stop signals, take a 'pedestrian crossing'
- add 'while message says go' and adjust the indents
- when this is working, further extension is to adjust the code on the crossing - how long should it stop the cars for before letting them drive again? how long after pressing the crossing should it wait before telling the cars to stop? how long after telling the cars to stop should it wait before letting the pedestrian know that it is safe to cross (consider the delay in stopping)?
ALL OF THIS SECTION AS A HANDOUT / PAGE WITH GIFS SHOWING THE INDENTS
Other extension possibilities: coding traffic light LEDs