Follow the instructions below to connect your servo to your robot, then program it to move!
If you have not yet soldered the pin connectors onto your robot, click here.
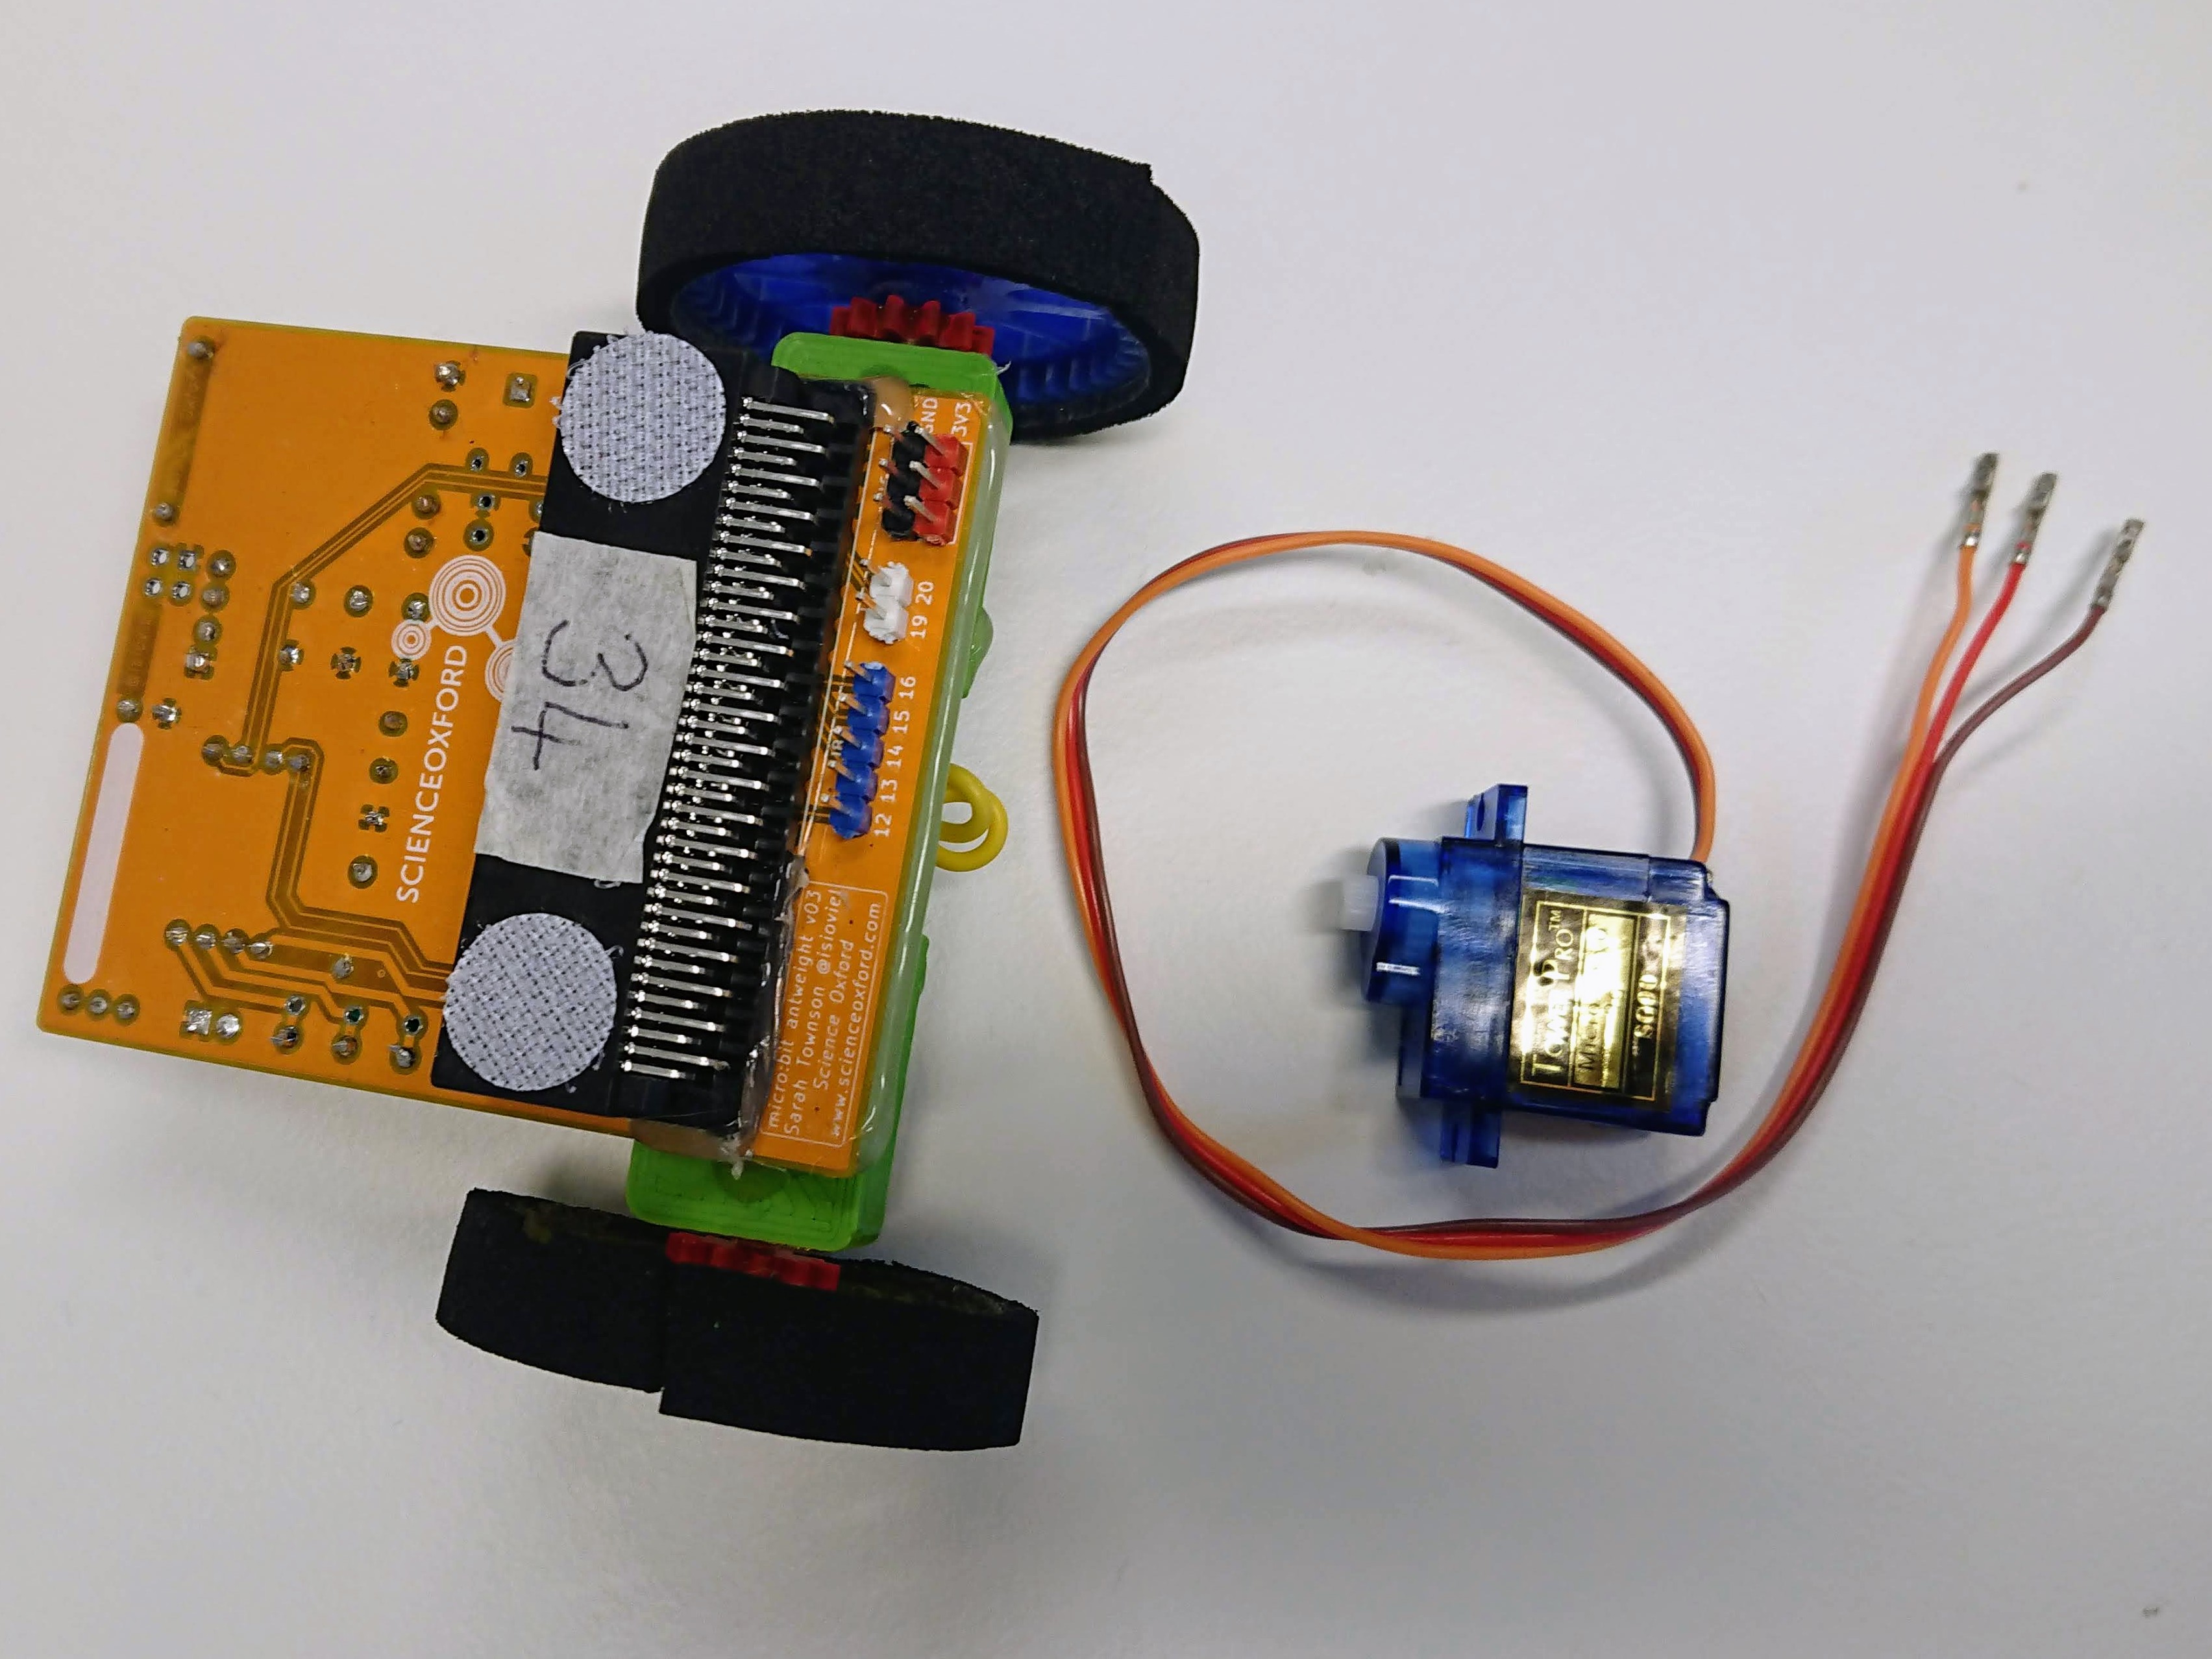
Step 1: collect your supplies
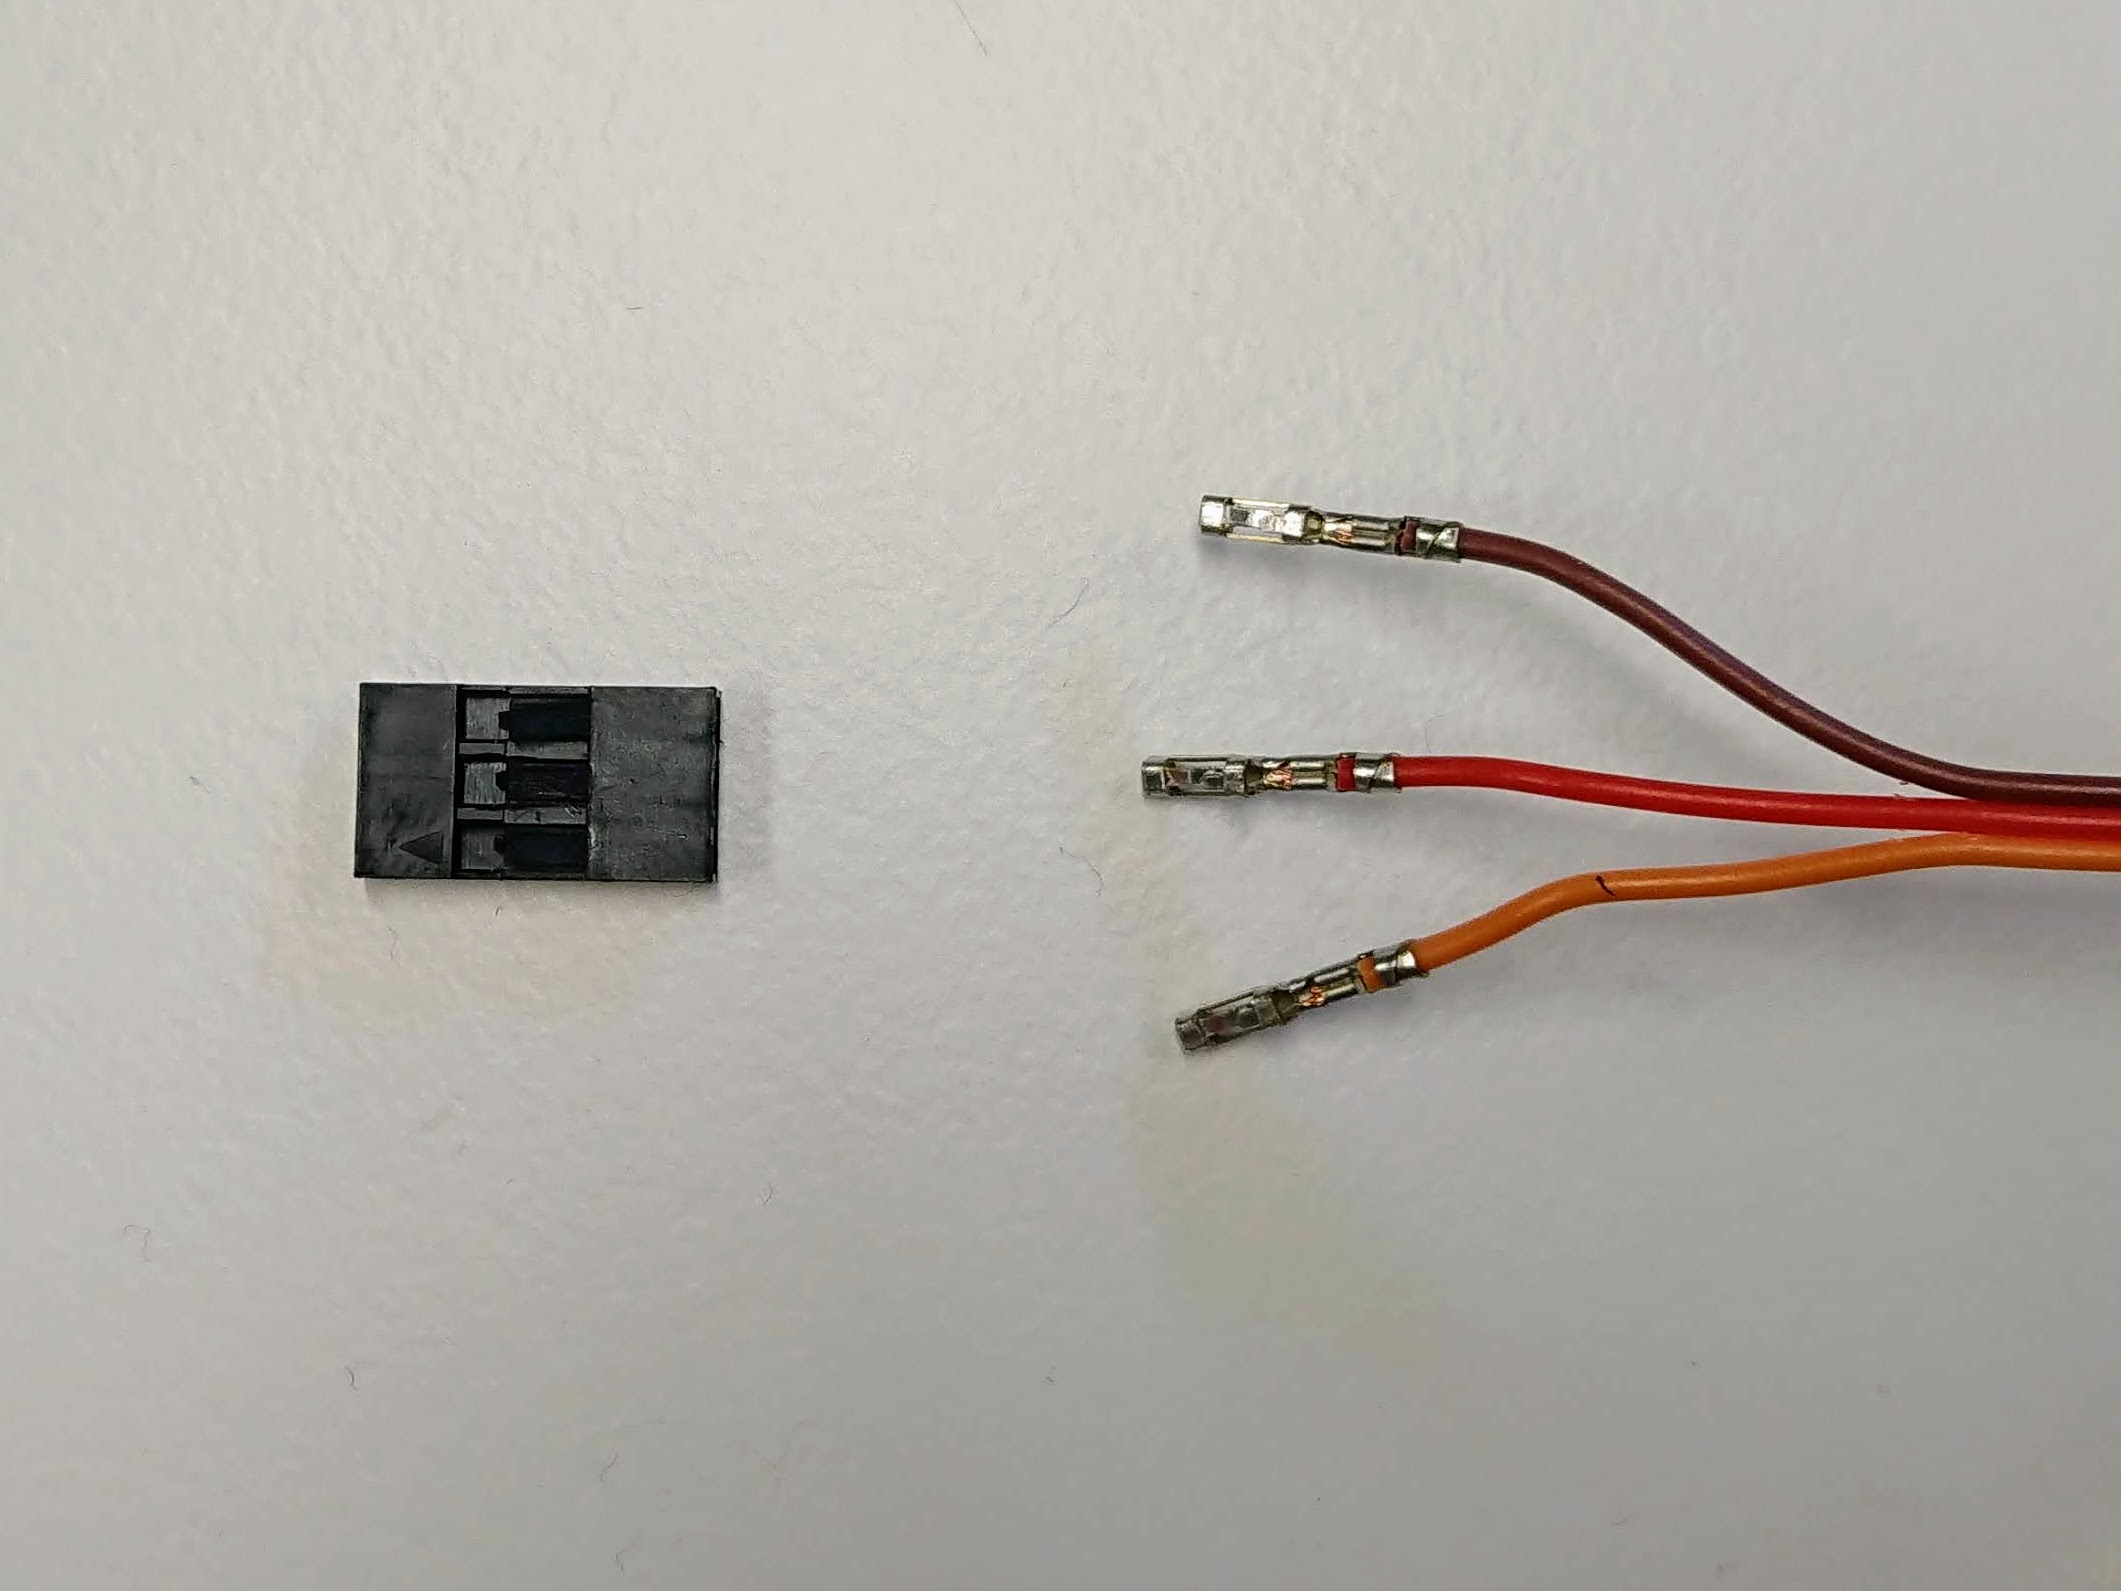
Step 2: if it has not been done for you already, seperate the three servo wires from their black plastic DuPont connector.
Step 3: connect the wires to your robot

Notes: information about the components
Step 1: setting a position
Open your robot program (if you were at Robocamp, click here to find yours)
You are going to add new code near the top of your program, underneath import radio and above radio.config.
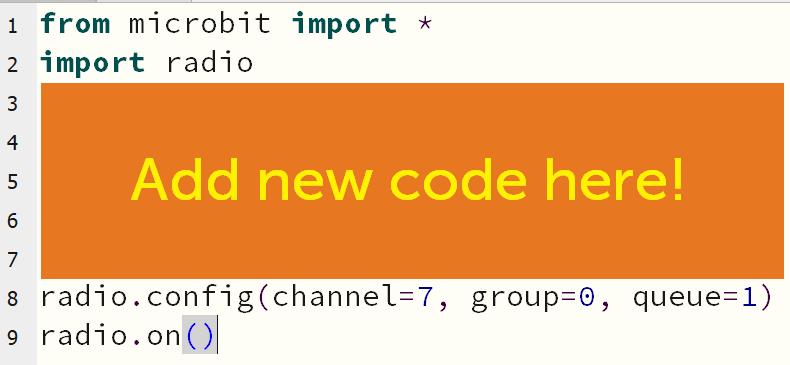
In this spot, add the following code:
pin12.write_analog(50)Does your servo move?
Step 2: working out the range
Change the number 50 - can you get your servo to move to a different position? The maximum number you can use is 1023.
If your servo is buzzing loudly, the number you last gave it is not a position it can move to.
Work out the range of positions that your servo can move to, then stick with those. If you use numbers outside of its range for too long, the servo will get hot and will stop working.
Step 3: physically using your servo
Step 4: using the servo in your robot code
So far, you have tested code so that it runs at the start of your program.
Think about when you want a your robot to turn the servo...