CCC - Let It Snow
Resources for the 'Let It Snow' Creative Computing Club.
During this workshop, you will use Tinkercad Codeblocks to design a 2D object (e.g. a snowman) to cut out on a Cricut machine.
This page recaps what we discussed as a group.
Resources for the 'Let It Snow' Creative Computing Club.
During this workshop, you will use Tinkercad Codeblocks to design a 2D object (e.g. a snowman) to cut out on a Cricut machine.
This page recaps what we discussed as a group.
To set up a new Codeblocks project, follow the instructions here.
The Cricut can only cut flat objects. It uses a sharp knife to cut around your shapes, so think carefully about what shapes you choose to use.
For a more detailed explaination, take a look at our Instructable (up to Step 6).
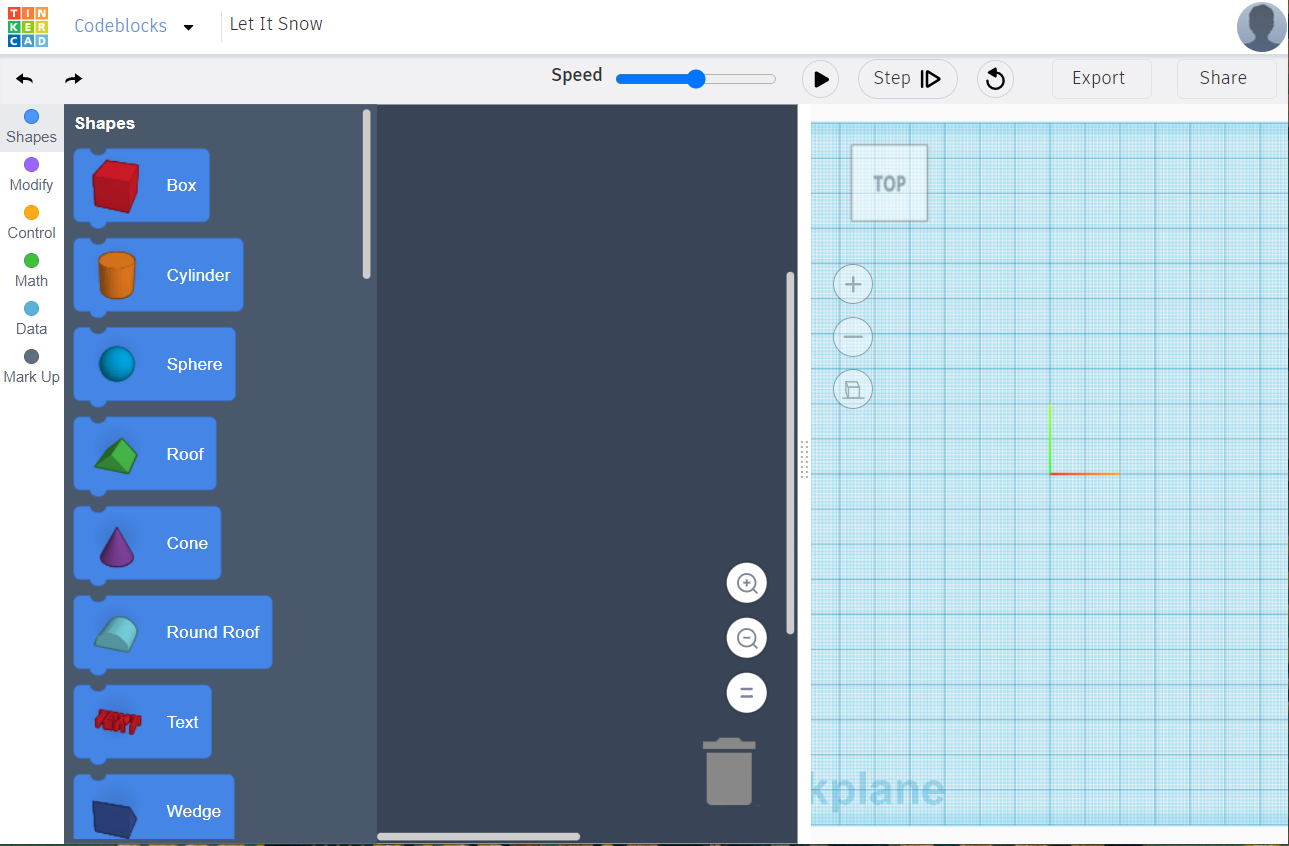
Your workspace, set up to design flat objects, should look like this:
Follow the animated images below to create your snowman's body, or click here for step-by-step instructions.

Follow the animated image below to create your snowman's hat, or click here for step-by-step instructions.
It is very similar to making the body, so follow those instuctions first.
Extension idea: how could you use the Rotate and Scale blocks in your code?
Follow the animated images below to create your snowman's eyes, or click here for step-by-step instructions.
Extension idea: can you follow the same process to make buttons?
Remember to only use flat shapes in your design.
To make the smile in my snowman, I used the Text block, with a bracket ).
You will need to use the modify blocks to get shapes to look how you want - move, rotate, size.
Be patient, do things one step at a time, and enjoy the creation process!
When you are happy with your design, it is almost ready to be physically created!
Rotate around your design to make sure everything is flat on the workplane. If not, debug your code!
When you are ready, tell the workshop leader that your design is finished - we will give it one last check, and then cut your creation!